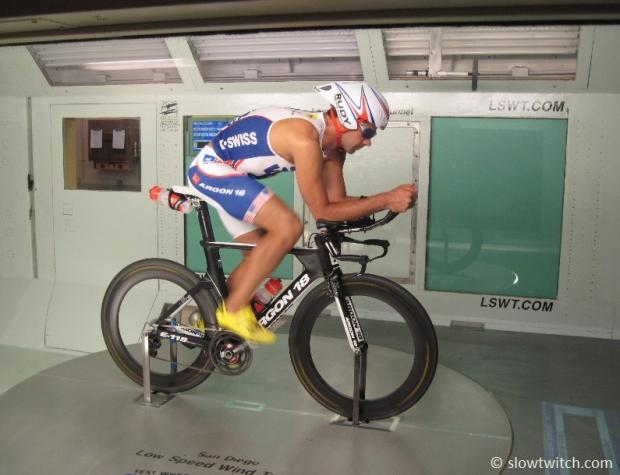
View-Speed product review
This is our review of two products from California-based View-Speed. Never heard of View-Speed? They are a small outfit started by Slowtwitch forum member, Neal Henderson. I had the pleasure of meeting Neal at Interbike in 2012, where we discussed the particulars of his new products over breakfast. Neal struck me as being very professional and very in to triathlon.
It was clear from the moment I met Neal that he comes from a military background (Neal was a fighter pilot for the US Marine Corps for seven years, and an airline polot for Northwest Airlines for 34 years). He was also the CEO of a small computer corporation for five years, and has worked with a string of inventors over the years.
It appeared to me that cycling, triathlon, and View-Speed are retirement projects for Neal, and he loves all of them. As a journalist who gets to see and play with a lot of different products and meet a lot of companies, it is hugely refreshing to find someone who is still independent and passionate.
How do the products stack up? Let’s take a look.
S4 skewers
The first product we’ll review is the S4 skewer set:
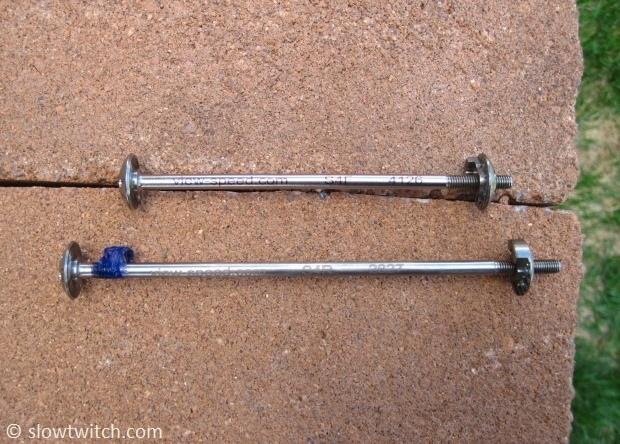
As you can see, there isn’t much to these things. The idea, as you can guess, is a reduction in aerodynamic drag and weight compared to a typical quick release skewer. The View-Speed motto is “+1mph Faster” – as in, they’re trying to make you faster.
View-Speed offers a few different quick release models. The S3F is their original model. It comes only as a front skewer (not a rear), and works with all forks. It has a quoted weight of 21 grams; my stock Dura Ace front skewer weighs 60. The price is a very reasonable $38.
I did not test the S3F, but rather the newer and lighter S4. It comes in a front and rear pair for $78:
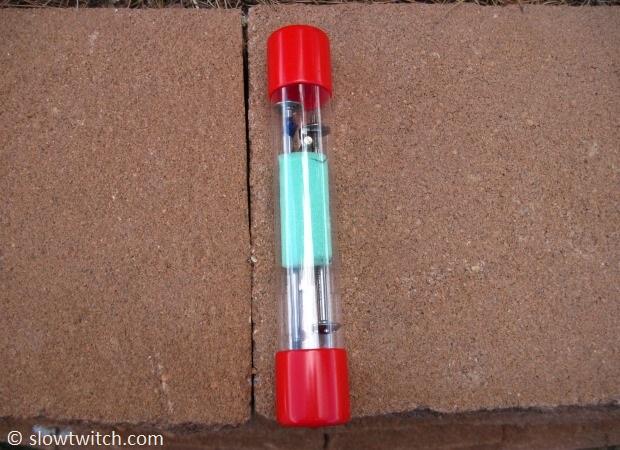
What is the difference between the S3 and S4? Both are titanium, and both have the same installation procedure. The real differences are:
1. The ends of the skewer are lower-profile on the S4 (4mm vs 6mm for the S3)
2. The ends are drilled out for slightly lighter weight
3. The S4 is slightly stronger than the S3
4. The S4 must be used with fork dropouts that are at least 6.35mm thick
That last one is important. If your fork tabs are thinner than 6.35mm, you cannot tighten the skewer down properly and risk having your wheel shift in the dropouts. As an example, my Alpha Q road fork dropouts are only 0.1mm over the minimum thickness limit. Before you purchase, you must use a Vernier caliper to measure your dropouts.
The ends of the skewers are unique. The removable end is keyed to fit into your dropout, and the other has circular grooves that allow you to thread it down:
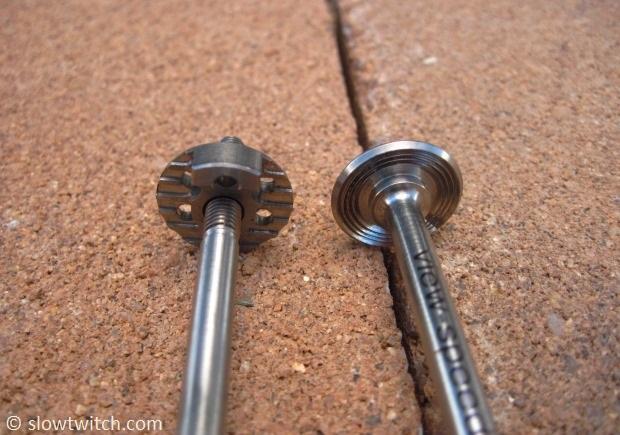
If we look at the other side, you can see that the skewers require a 5mm allen key to tighten the non-keyed side:
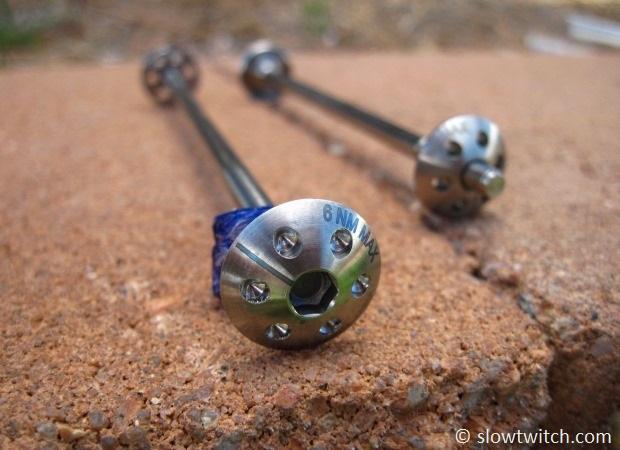
You may also notice some sticky blue tape that comes wrapped on the threads of the skewers. This is Loctite 249 blue tape. You must use some of this on both the front and rear threads. According to Neal, it is an extra measure of safety to ensure that the skewers do not loosen in the case that they’re not installed properly (i.e. tight enough). The maximum torque specification for tightening the skewers is 6NM.
How do you install these things? It is as simple as this:
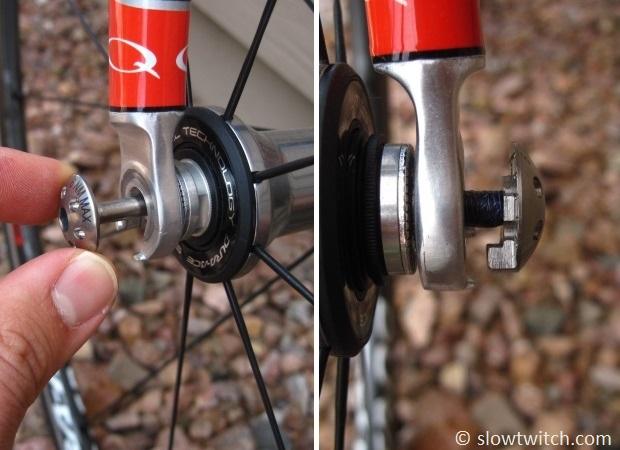
Just push the skewer through one side and thread on the end cap. Be sure to line up the tab with your dropouts.
Next, tighten down the side with the allen key:
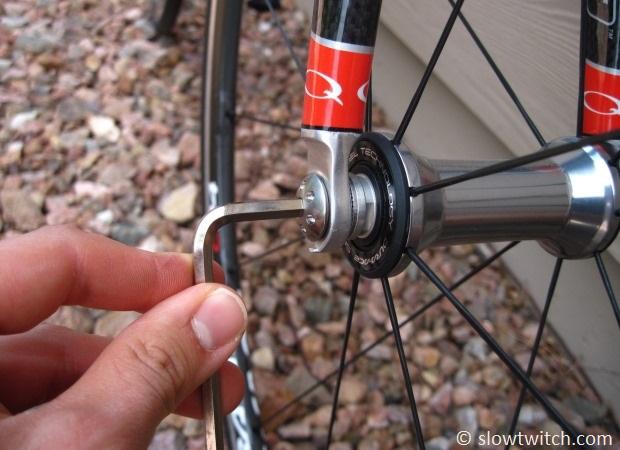
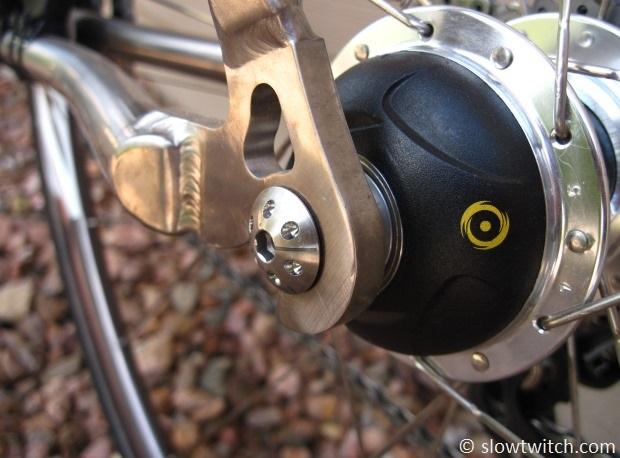
The rear installs in an identical manner:
This installation procedure also unearthed a problem for me – as I tightened down the skewer, the side with the 5mm allen tried to walk out of the dropout, pulling the rim into the brake pad on that side:
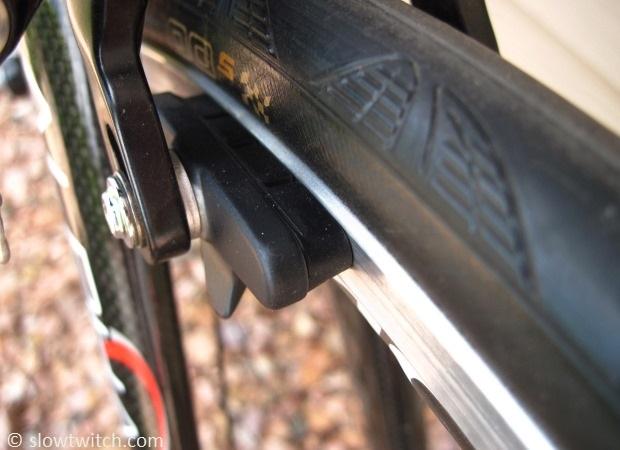
I found I could minimize this somewhat if I pushed down on the bike very hard while tightening the skewer, but it still moved the rim. What was going on?
When you tighten a normal skewer, it acts as a vice. The ends of the skewer do not rotate as they clamp. This skewer obviously does rotate on one side. Since the skewer can only be inserted and removed from one place (the open portion of the dropout), that’s where it wanted to go. I noticed that this did not happen on the rear of the bike nearly as much, and I got to thinking. The skewers are titanium, which is harder than my aluminum fork dropouts. However, my frame is titanium, matching the skewers’ hardness. The rear skewer was not able to bite into my frame as much, and subsequently didn’t have as much of a penchant for walking out of the frame.
Indeed, my thought process was correct. As I loosened the front skewer, I saw some small metal shavings fall to the ground, and saw that the skewer had dug into my aluminum dropouts:
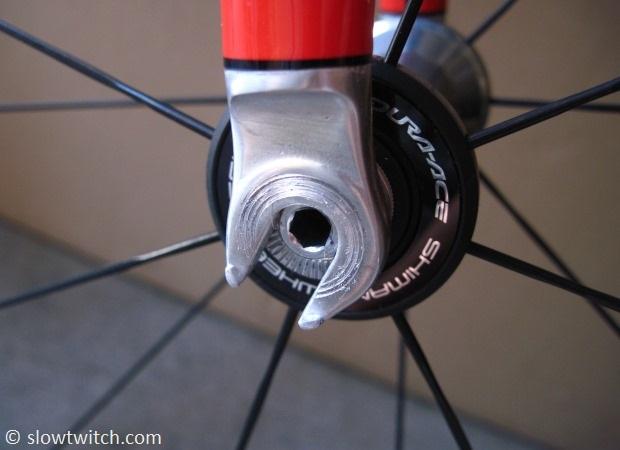
That being the case, I would definitely not recommend using this skewer on a fork with carbon dropouts. My design suggestion – provided it passes all safety standards – is that the skewer be updated to have a washer on the 5mm head side. It could be knurled on the side that contacts the fork (similar to how standard quick release skewers are knurled), but smooth on the side that contacts the skewer. In theory, this would allow the smooth faces to rotate against each other, but keep the knurled side planted on the fork dropout.
My concern with the existing design is that the wheel could go crooked from tightening the skewer, so you adjust the brake to compensate. If, however, you hit a bump or pothole and force the hub to push all the way down in the dropouts again, the brake would be misadjusted (and it could possible push your rim into the brakes).
What about the aero performance of the S4 skewers? Here is a comparison image of my front wheel. The left side has a Dura Ace 7900 skewer, and the right is the View-Speed S4F:
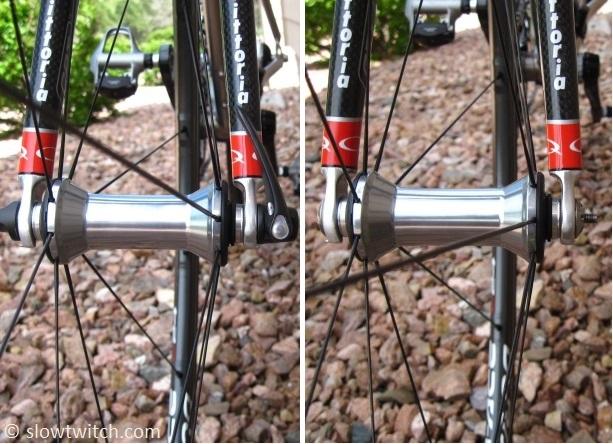
Neal has done extensive testing in the San Diego Low Speed Wind Tunnel with his skewers, and conservatively quotes a 1 watt gain, or about 4 seconds per 40km ridden. Considering how much people are willing to spend on frames, brakes, and other accessories, I’d say that these are a very good “watts-per-dollar” upgrade. If the functional details can be worked out, I’d say we have a winner.
CyclOps glasses
Many of you remember the photo of professional cyclist, Dave Zabriskie, riding to victory in a time trial… with his head down. Dave had studied the course, and knew the sections that he could completely drop his head – eliminating any visibility down the road. As we can surmise, getting your whole head out of the wind could make you much more aerodynamic. Here is a photo of Neal demonstrating the technique in the San Diego wind tunnel:
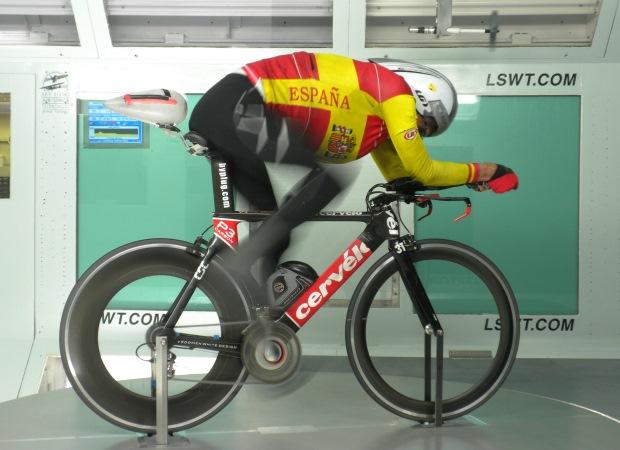
There are obvious safety concerns with using this technique on the open roads. What you need is some sort of periscope to see where you’re going.
Enter the View-Speed CyclOps glasses:
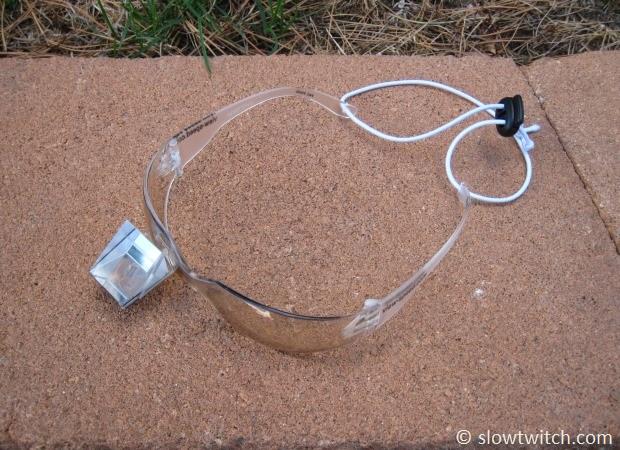
What you have are a pair of glasses with a prism on one side, so you can keep your head down and still see the road ahead of you.
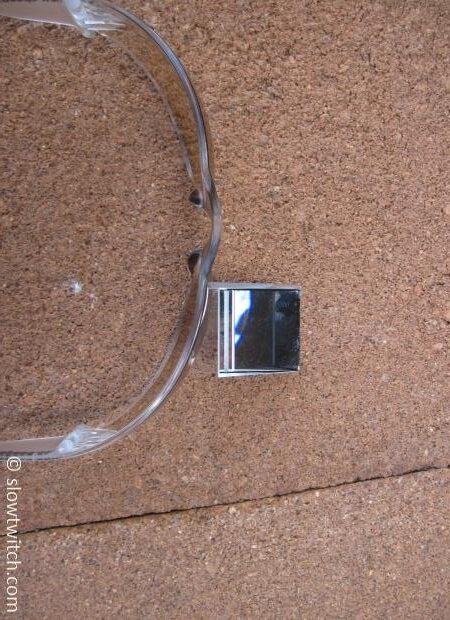
The glasses are 2.5mm thick shop safety glasses, and meet CE EN166:2001 and ANSI Z87.1 standards. They’re simple plastic, but the prism is glass.
In case you’re wondering – yes, those are elastic shoe laces on the back:
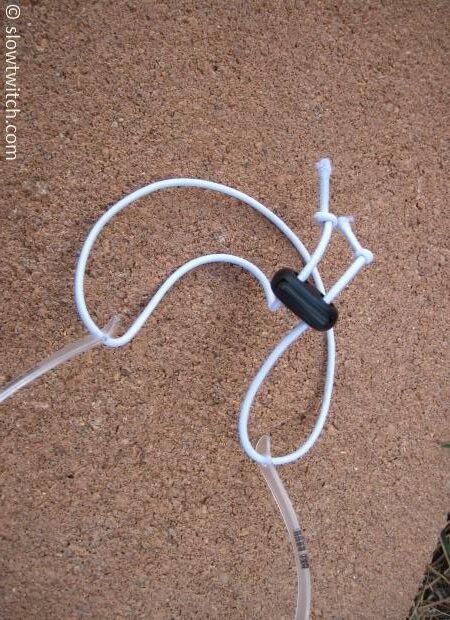
When your head is down, you don’t want the glasses to fall off of your face – hence the laces.
What does it look like through the prism? Do they really work? Here is my best attempt at capturing it in a photo. The glasses are looking down at the grass, and there is a brick wall next to me (which the prism is looking at):
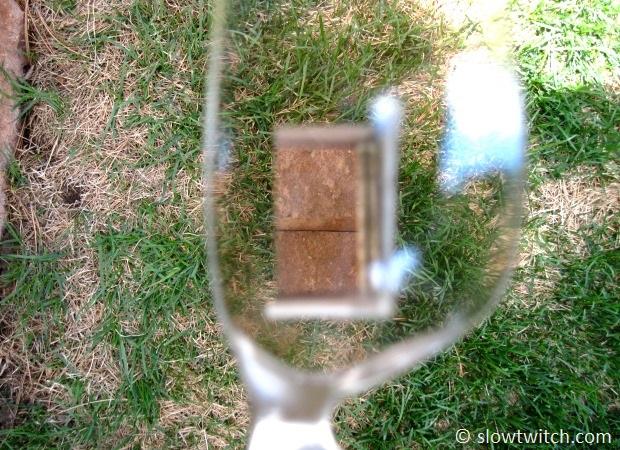
Before trying the glasses outdoors, I used them on an indoor trainer. I wanted to see what I was in for. They seemed to work just fine, and I could see a decent field of view. It should go without saying that you want to close your opposite eye while doing this. The glasses can be made for either left or right eye dominance.
What about riding outdoors? I was pleasantly surprised that the glasses were just as easy to use. I rode along a short section of road (making sure there were no cars or pedestrians around), and would drop my head for about ten seconds at a time. I did find one unexpected consequence of the prism: if you ride around normally with your head up and the sun is directly overhead, you can get significant glare through the prism. There’s really no way around it. Additionally, I found that the shape of the glasses combined with the elastic laces made them dig in around my eye sockets. I could probably deal with it for a 40k time trial, but an Ironman is out of the question.
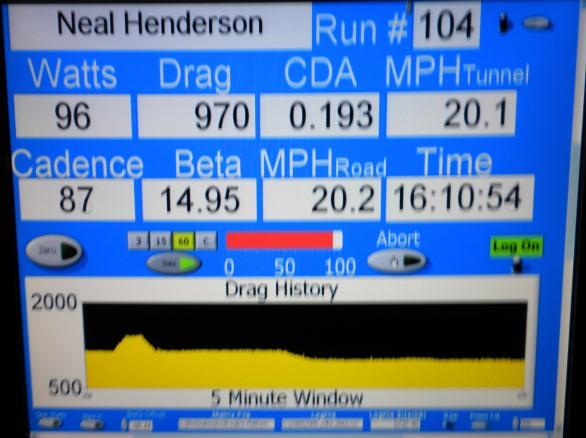
I asked Neal about time or wattage savings with the glasses, and he was very clear that they offer a significant savings. While it depends on the rider, helmet, and many other factors, he was confident in quoting a 1 mph gain when using the glasses, and obvious benefits in shoulder/neck comfort and safety. This image shows the difference between Neal with his head up (the bump in the graph), vs with his head down (the portion where it slopes downward):
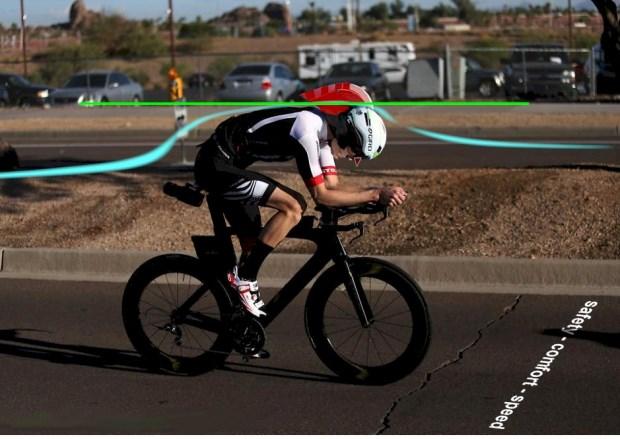
Just for comparison’s sake, this image shows the approximate real-world difference between a standard aero helmet with your head up, and tail-less helmet with your head down:
The glasses cost $278 at retail, or $245 for Slowtwitch forum members.


