Tech Series: Optimizing Brake Performance – Part 1
We all know what brakes are supposed to do, right? Stop your bike smoothly, predictably, and safely. The job is simple. Just use some type of clamping device (brake pads) to squeeze down on a moving/spinning object (a rim or brake rotor), and the magic of friction reduces the speed of the moving object. We could add more layers of detail, such as variability in rider weight, grip strength, temperature, humidity, and overall road conditions.. What’s more, we have multiple styles of rim brakes, disc brakes, different pad compounds, different rim materials, mechanical brakes, hydraulic brakes, and even hybrid mechanical/hydraulic systems.
We all know that in the real world, problems happen. Perhaps you’re not able to stop as quickly as you’d like – or stopping too abruptly. Maybe your brakes are squealing loudly – or perhaps they only do so when the road is wet. Maybe you’re happy with how your brakes function in warm weather, but they just don’t seem quite the same in cold weather. Whatever the case, with so much variability in the design and execution of the brakes themselves, it can be an arduous task to diagnose and correct problems.
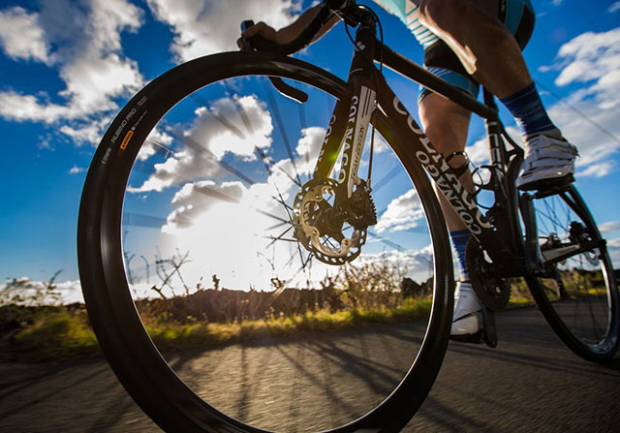
Above image © Eric Wynn
I set out to talk with some of the top wheel and component manufacturers, to see if we could come up with a handful of the most common performance issues, and how to easily solve them. I’ve found that, while brakes have generally continued to get safer from a standpoint of catastrophic failure, the issue of noise continues to persist. I’ve been on rides at media events with brand new bikes set up by expert mechanics, only to hear squeals and howls during the ride – coming from both rim and disc brakes. I also think there’s a serious lack of discussion and understanding about brake performance in cold/wet weather. In a nutshell, I wanted to find out how to help our brakes function safely and predictably with minimal noise – and in all weather conditions.
There are three main setups of wheels and brakes that we need to look at, because they all have nuances that affect how you operate and maintain them.
1. Rim Brake / Alloy Rim
2. Rim Brake / Carbon Rim
3. Disc Brake
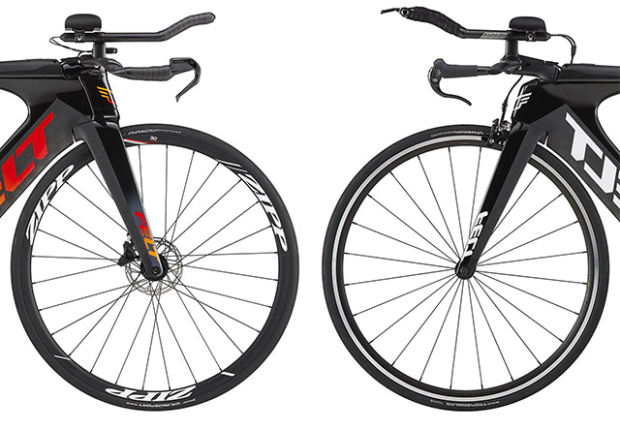
That’s a lot of ground to cover. In my email to the manufacturers, I wrote the following, with regards to the three brake setups listed immediately above.
“Of course, these categories are still fairly broad, as not all rims, bikes, or brakes are equal. I’m looking for relatively broad strokes and lessons that the average person can understand. To give a bit of context, I’ve found that rim brakes tend to be quieter than disc brakes, and that pad compound is key. If it’s cold or wet, a softer (rim brake) pad compound usually helps… but if things warm up and dry out, these pads can lead to noise or being too grabby. As such, I’ll change pads for the seasons. With discs, I almost always go with organic/resin pads, because they seem to be quieter in just about any condition, at the expense of the longer life of metallic pads.
Here’s what I’m after:
-Best practices for low braking noise
-Are different pad compounds necessary for best year-round performance, safety, and low noise?
-Does a pad that causes shorter stopping distance always translate to higher braking surface temperatures (i.e. more friction is happening)?
-Anything else you’d like to add?”
I was excited to learn more. What am I missing? As a brake pad geek with a bin of different pad styles and compounds in my garage, I was ready to take my game to the next level.
Unfortunately, that didn’t happen.
Nobody could play ball. No fewer than six of your favorite brands had nothing to add or nothing to say. Brakes are a serious business, and bad advice could result in a serious safety hazard. To me, this highlights the fact that it’s a real problem for consumers that’s difficult to research. Manufacturers must heed the advice of their attorneys, and provide only the most conservative information that will lead to the least possibility of being sued. In other words, they typically provide ONE brake pad recommendation for all people, terrain, and weather. Especially in the case of carbon clincher wheels and rim brakes, this is the pad that’s least likely to melt your rims on a hot day – but that doesn’t mean you’ll get optimal braking performance if it starts raining and the temperature drops 25 degrees.
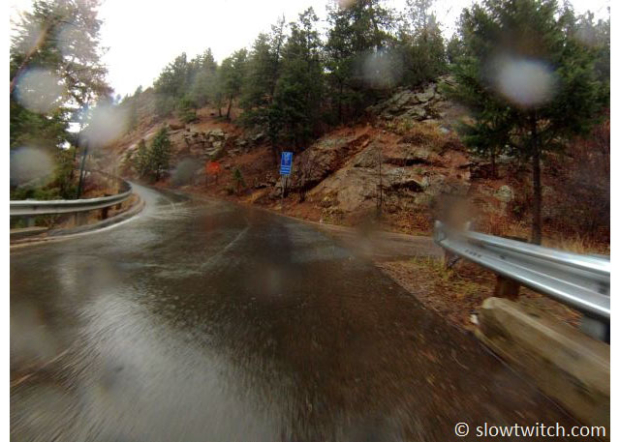
Disappointed but determined, I decided to change directions. Rather than rely on wheel and brake manufacturers for help, I decided to reach out to a small handful of industry veterans with real-world experience. These are experts, engineers, and even a professional mechanic who competes in self-supported ultra-distance races. These people also have a responsibility of safety to their customers, readers, and employers, but none have their careers tied to selling a specific wheel or style of brake.
A Brake Geek’s Perspective
Here’s how we’ll proceed. First, I’ll offer my own best practices, as a picky mechanic and someone who is particularly averse to braking noise. You can find some of my previous writings on brakes HERE, HERE, HERE, HERE, and HERE.
Then, in Part 2 of this article, we’ll give you the goods from industry experts such as Josh Poertner – former technical director at Zipp, and current owner of Silca. We’ll let them agree or disagree with me, and expand with anything and everything they’d like to say.
Rim Brake – Alloy Rim
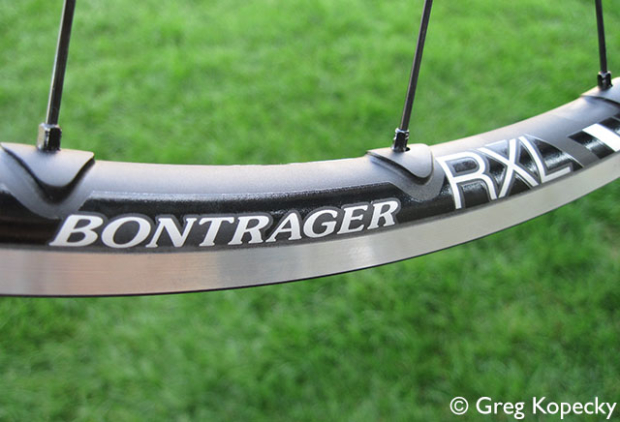
This is the traditional setup for road and triathlon bike braking, and is what most cyclists know best. Materials and manufacturing have improved over time, with my favorite innovation being machined braking surfaces. Mavic set the standard with their Open Pro rim, and continue to have industry-leading performance.
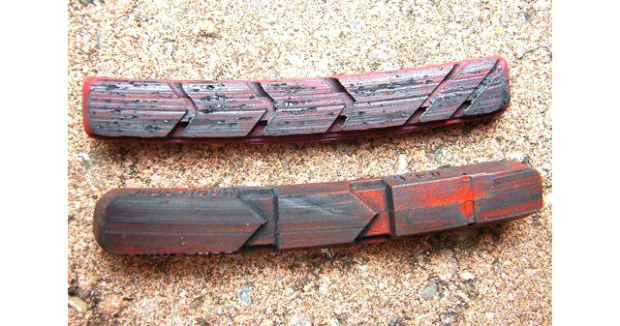
Using a quality rim and brake, it’s hard to screw things up. First and foremost, clean the pads every now and then with 90% isopropyl alcohol, and use a pick to remove any metal flakes in the pads.
Above image © Kool Stop
Replace the cables and housings every now and then, when they get gummed up with dirt and dried sports drink. If you’re experiencing noise, adding some toe-in to the pad setup will often cure your woes. This video from Art’s Cyclery will show you how:
The other thing I recommend is changing brake pads for colder and/or wet weather. The industry standard for this is undoubtedly the Kool Stop salmon-colored pad. This pad has gained a reputation for being the bee’s knees in bad weather, and also for being friendly to your rims long-term. If you’re not sure how wet it will be, they offer a dual compound version, which combines their wet and dry pads into one.
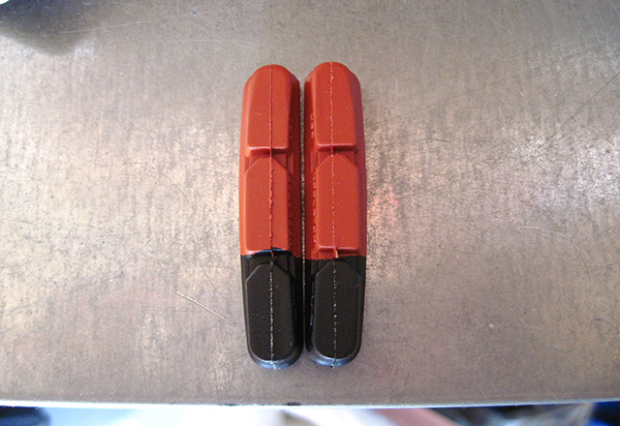
Some people report that they use the salmon compound year-round. If this works for you – great. I found an interesting caveat when moving from cooler, dry climates to the hot-and-humid swamp of Florida. Both the salmon compound and dual compound seemed a bit too sticky or grabby, degrading the modulation and feel of my fantastic Dura Ace brakes. I switched to the all-black dry compound, and have been a happy, noise-free camper since. At only about $20 for a set of four pads, I keep a selection handy. It’s an inexpensive upgrade that could transform your braking performance and safety.
Rim Brake – Carbon Rim
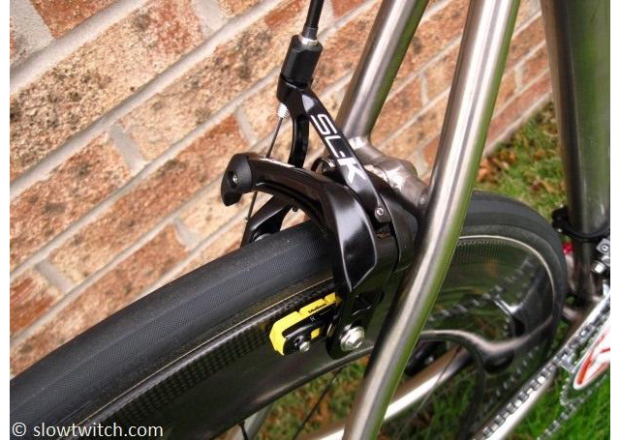
This is where things start to get tricky, both from a performance and liability standpoint. Carbon fiber doesn’t dissipate heat as quickly as aluminum does. This means that, when used as a braking surface, carbon fiber will stay hotter for a longer time than an aluminum rim. With glue-on tubular tires, this can cause the glue to melt – or worse, the rim to melt. With a clincher wheel and tire, extreme heat causes the tire pressure to increase, which in turn creates much more outward pressure on the wheel. If the wheel starts to melt, the high tire pressure can cause the rim to blow apart (the blue arrows in the illustration below) – or for the tire to exceed its max pressure and blow off the rim.
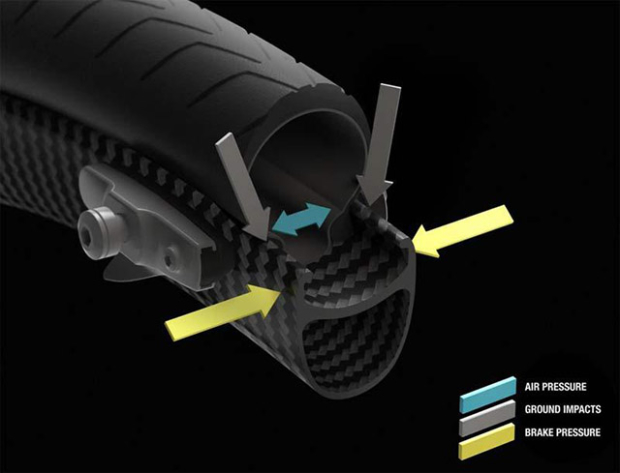
Above image © Mavic
Because of this situation, most carbon rim manufacturers provide pads with the wheels, or specify one particular pad that you MUST use. The number one priority is heat management, ensuring that the heaviest riders on the hottest days, using the highest tire pressures won’t blow up their wheels and tires.
This also means that, when in doubt, use their recommended pad. That goes double if you want your warranty to hold up in the case of a problem, or if you’re just unwilling to assume any heat-related liability.
That being said, I’ve run in to situations where the stock pads stopped fine, but squealed and howled. Or they stopped fine when it was dry out, but performed terribly in the rain. Part of this can also be influenced by the rim itself, as not all carbon rim surfaces are created equal – with some even suffering from braking surfaces that aren’t quite flat (causing pulsation and noise).
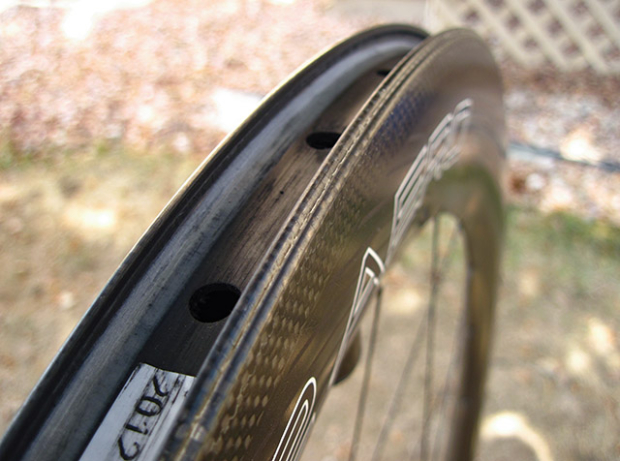
In addition to the basics mentioned in the alloy rim section (keep your pads clean, replace cables and housings as needed, and set up the pads properly), there are two more keys with carbon rims that you should follow – especially if you make the choice to use a pad other than what the manufacturer supplied.
1) Don’t max out your tire pressure
2) Feather the brakes on long descents
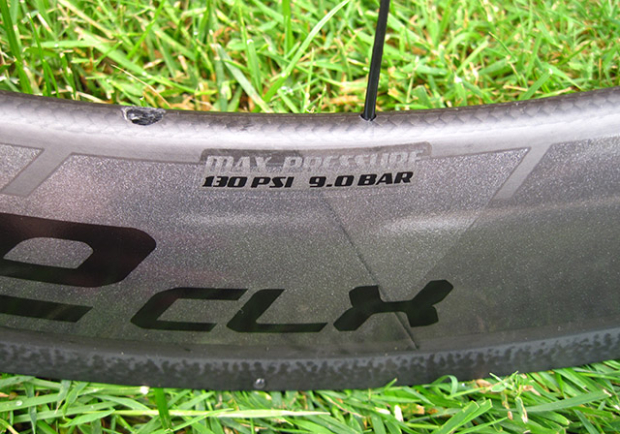
Let’s deconstruct. If you’re using a carbon clincher wheelset with a max pressure of 125psi, and a tire with a max pressure of 110psi, your effective maximum pressure is 110psi. You must always respect the lowest recommended pressure of the entire system.
Even if 110 is the max, however, I never pump to this pressure. Why? First and foremost, high pressure tends to cause a harsher ride than I want. Beyond that, however, I want to buy myself some margin of safety. If I’m headed down a long descent, the rim will heat up as I apply the brakes – which will increase the tire pressure. In this particular case, I might inflate my tires to 90 – 100 psi, depending on the tire size and rider weight. This gives me 10-20psi of “headroom” to account for rim heat. If you go too low, however, you risk bottoming out the rim over rough pavement – potentially damaging the rim. There’s a happy middle-ground of not-too-high, not-too-low.
Second, you should feather the brakes on long descents. This means: don’t drag the pads on the rim for an extended period of time (i.e. 10-20+ seconds). Not only does that do a poor job of slowing you down, it tends to cause more heat buildup in the rim. Instead, it’s better to apply the brakes in smooth, controlled bursts of roughly 2 – 5 seconds, which gives the rim some time to cool down in-between while still keeping your speed in check down the mountain. Using these techniques, I have personally used non-manufacturer-recommended pads without any issues.
As for the pads themselves, I like to change them out for different weather conditions – just like when I use alloy rims. For general use, I’ve had success with the Zipp Platinum pads on a few rims. They’re quiet and offer smooth performance. Cork pads can feel nice in hot, dry conditions, but I find their wet weather performance unacceptable, and I’ve given up on them.
For adverse conditions, however, I must recommend Kool Stop once again. They offer four different carbon-specific pad compounds, giving you the ability to tune the performance, just like their line of alloy pads.
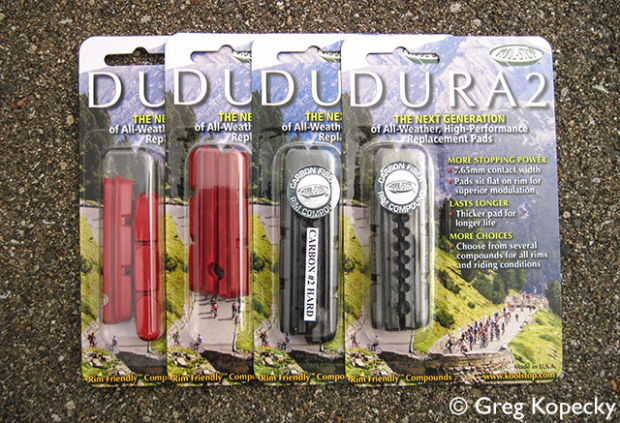
The special pad I want to call out is their red CX, or cyclocross pad. I’ve had rim manufacturers tell me that they won’t ride carbon rims in cold or wet weather on their personal bikes, because the braking can’t compare to aluminum. These people also didn’t know about the special Kool Stop CX pad, which is made specifically for cold, wet conditions. It makes a dramatic improvement, and made it possible for me to safely ride carbon rims in the winter. Keep in mind that these pads are very sticky, and would probably overheat your rims in the summer time – or at least feel grabby and terrible. I ONLY use them in very cold weather – figure anything south of 32 degrees Fahrenheit or 0 degrees Celsius.
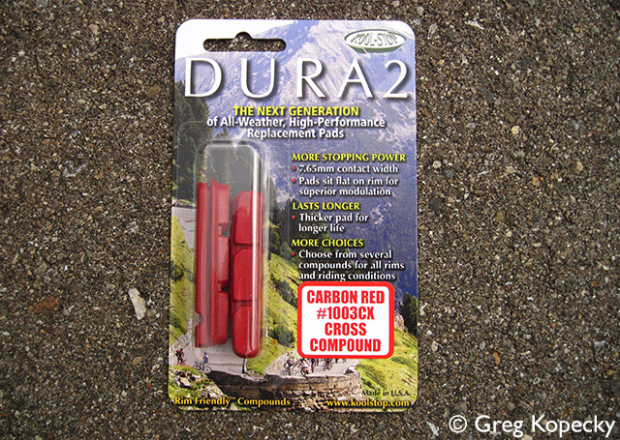
Note that Kool Stop has two carbon pad compounds that are red. One is the aforementioned CX pad, and another is a general use road pad. Their website doesn’t have any specific information or recommendations on the latter, so for now I can only recommend the CX pad for your blizzard excursions. I have used their two black-colored carbon pad compounds with success on various wheels for normal operating conditions.
Disc Brakes
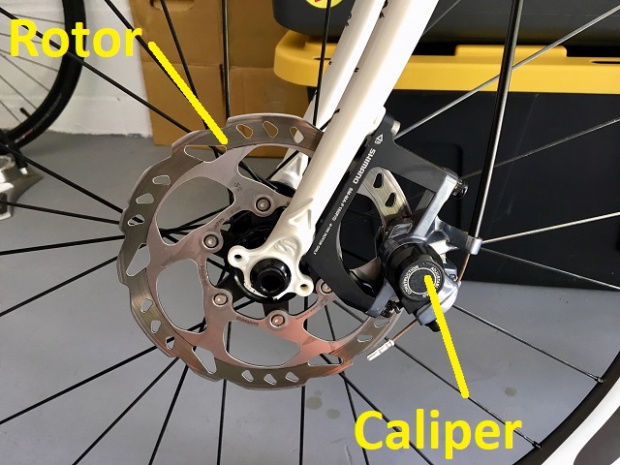
Discs are all the rage today in 2019, finally showing up on triathlon bikes. I think that at least a little bit of the move towards discs is because people weren’t changing out their rim brake pads for different conditions, and looking for a catch-all solution. Discs can indeed work great, but I’m sorry to break it to you that they aren’t a panacea. Different pad compounds are still necessary, and discs can have their own issues with noise and brake pad contamination.
As mentioned in my letter-to-the-experts (above), I tend to prefer organic (a.k.a. resin) pads for disc brakes. I typically find them to be quieter and offer improved feel than metallic (a.k.a. sintered) pads. However, they don’t last as long, especially in muddy conditions.
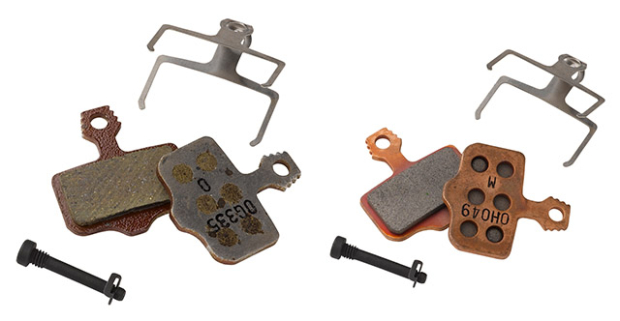
Above: Organic/Resin pads left, metallic/sintered pads right
The key with discs is to keep them clean – both the rotors and the pads. Keep in mind, however, that every time you clean them, you strip away all of material that was transferring from the pads to the rotors. When this happens, you need to repeat the bedding process for the pads, to start a smooth application of pad material to the rotor. Recommendations vary by manufacturer, but typically involve slowing the bike from a fast speed to a walking speed about 10-20 times, and then allowing the brakes to cool down. This video from SRAM shows their recommended procedure.
Cleanliness issues aside, I’ve found that other disc-related noises can be harder to diagnose. I’ve had noise be caused by a loose headset, a caliper that needed to be rebuilt, or even a fork that was too light and shuddered under heavy braking (causing the brakes to squeal). If you get really stuck, a trip to your mechanic may be necessary.
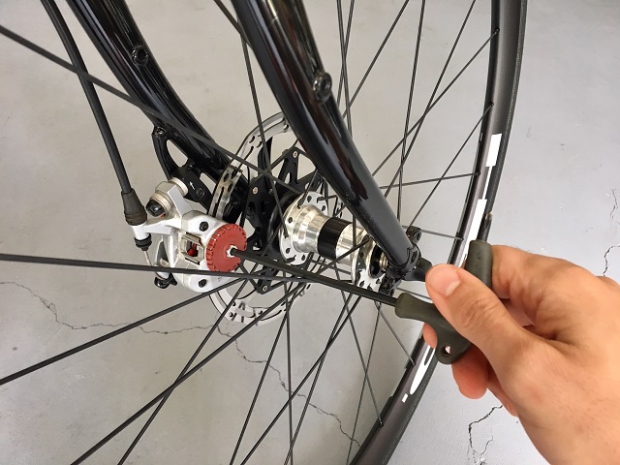
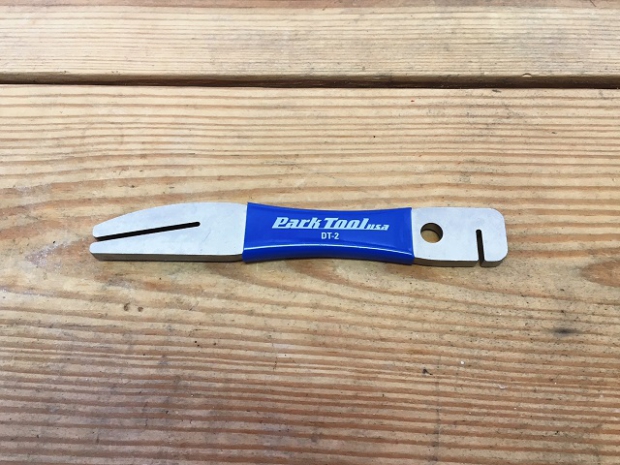
Many disc noise issues also relate to simple adjustment – calipers that are poorly aligned, or rotors that aren’t straight. These will often cause an intermittent ‘ting-ting-ting’ sound, as the wobbly parts of the rotor contact the pads or caliper body. With only about 0.5mm of clearance between the rotor and pads, you must set everything up perfectly.
—
That’s it for Part 1. In a few days we’ll give you the in-depth responses from our industry experts, who share their insights, data, and recommendations to optimize your braking.


Start the discussion at slowtwitch.northend.network