Sealant Test – Part 1
I like tire sealant. Heck, I’d say that I love it, at least in theory. Who wouldn’t want the opportunity of puncture-free bike riding? Over time, it has become a hot topic and very competitive market. If you missed our 2012 wrap-up of sealants, check it out.
The thing that’s lacking in the world of tire sealant is a decent volume of unbiased test data. With such a wide variety of puncture sizes, tire types, and inner tube materials, we’re largely left to rely on anecdotal evidence. While such ‘tests’ certainly hold value (and we’ll mention some in this article series), a standardized test is always going to tell us more. So – that’s what we decided to do.
This article will serve as the set-up. We’ll talk about which sealants we’re using, our test methods, and the limitations of our study. In Part 2, we’ll reveal our test results, along with conclusions and take-home messages.
Test Basics
Up to now, most tests I’ve seen have been focused primarily on mountain bikes, and in particular, those with tubeless tires. If you’re not familiar with tubeless technology, take a look at some of the articles linked at the bottom of this page. In a nutshell, they’re clincher tires with a special construction, allowing them to hold air without using an inner tube.
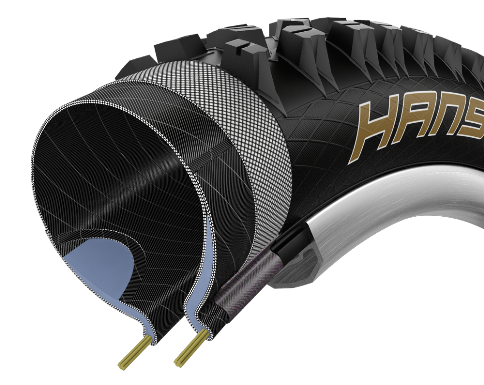
While those tests are great, they simply don’t apply to triathlon very well. In short, almost any sealant is going to live a much easier life inside of a tubeless mountain tire than a tube-laden road tire. Mountain bike tires have much higher volume and are run at lower pressure. When that inevitable puncture happens, it’s much easier to seal when you’re starting from 32psi instead of 100psi. Additionally, tubeless tires have a big advantage in that there is only one layer of material to seal. A traditional tube-type tire has two layers (tire + tube), which rub against each other as the wheel rolls around. Road tubeless tires are also available, although with fewer options.
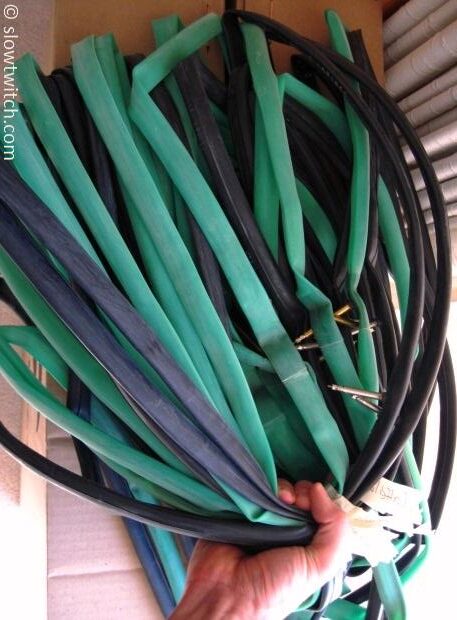
Because of this, we opted to test standard size 700×23 road clincher tires with inner tubes. In my experience, this is the most difficult scenario for a sealant to work, but it is also the tire of choice for most triathletes. We also decided to test latex vs butyl inner tubes. Some say that latex tubes are more fragile. Some say that – because they’re more flexible – they are actually more resistant to punctures. I say: Let’s find out.
We also had to take tire pressure into account. Depending on rider weight, rim width, and other factors, most athletes ride somewhere between 90 and 120psi with 700×23 tires. We don’t have an unlimited amount of tires, tubes, or time, so we settled on the average for this test – 105psi (7.24 bar).
Materials
Given the constraints above, we had to decide on tires and tubes. The thickness of a tire can affect how well it seals a puncture, so we opted for a tire that was somewhere in the middle – not too thick, and not paper thin. Schwalbe was kind enough to provide a handful of their Durano S clinchers. It is lighter and faster-rolling than their heavier touring-type tires, but beefier than their race-intended One, Ironman, and Ultremo ZX.
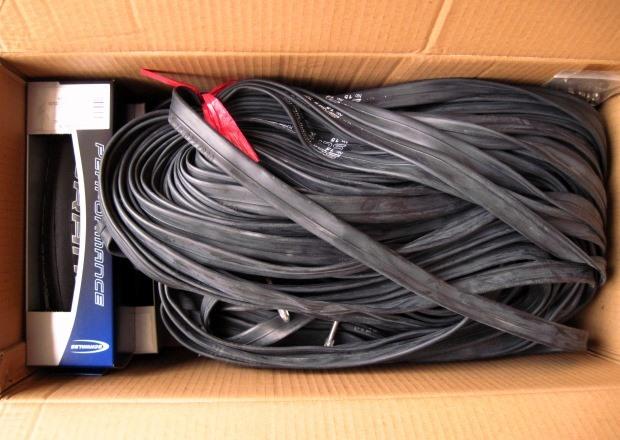
Schwalbe also sent a big box of standard-thickness butyl tubes with removable valve cores. While there are many different types of butyl tubes, we had to pick one. Most ‘standard’ tubes have a wall thickness of 0.9 – 1.0mm and weigh around 100 grams.
For latex tubes, Bontrager was kind enough to send me a box of their Race XXX Latex Road tubes. They feature 51mm valves with removable cores.
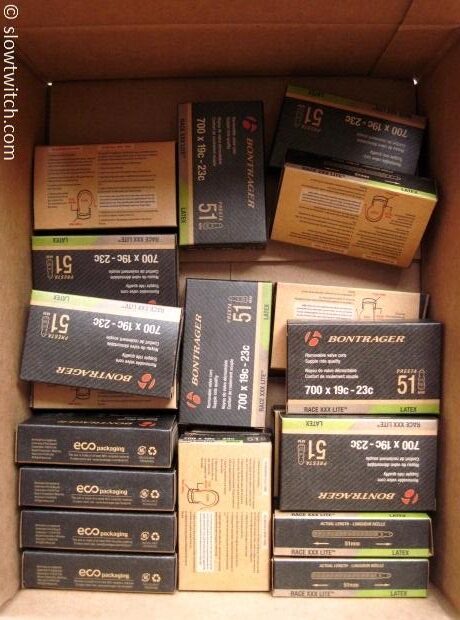
Before we go any further, we all owe Schwalbe and Bontrager a big thank you. Ready? 1, 2, 3… ‘THANK YOU!’ Both provided product with no strings attached, knowing that our results could very well say good or bad things about their own branded sealants.
Sealants
For this test, I included every sealant that I could. I had to have enough quantity of each brand to cover all of my tests, which narrowed it down to the following seven sealants:
-Bontrager TLR
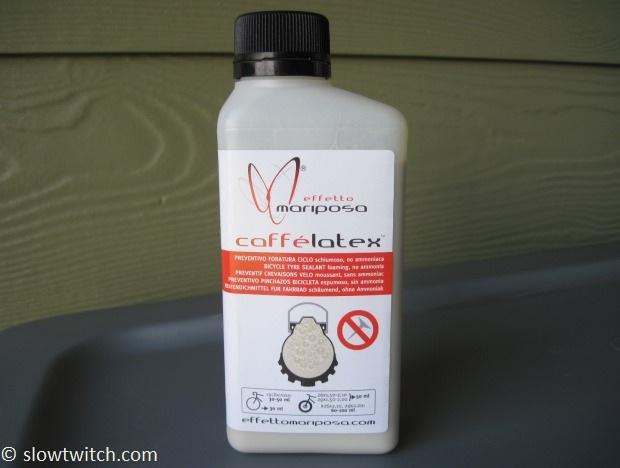
-Effetto Mariposa Caffelatex
-Flat Attack
-Orange Seal
-Specialized Airlock
-Stan’s NoTubes / Schwalbe Doc Blue
-Vittoria Pit Stop
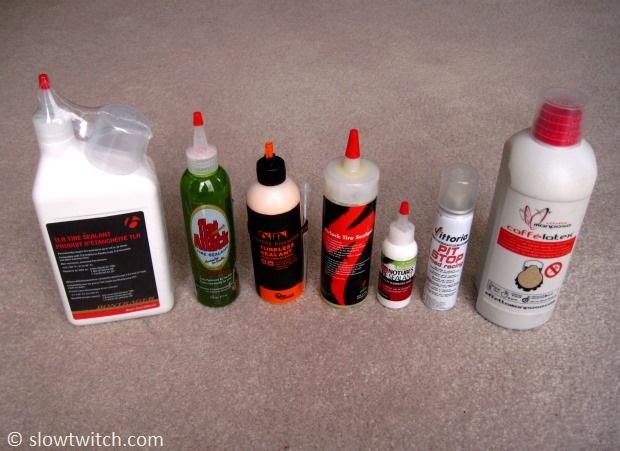
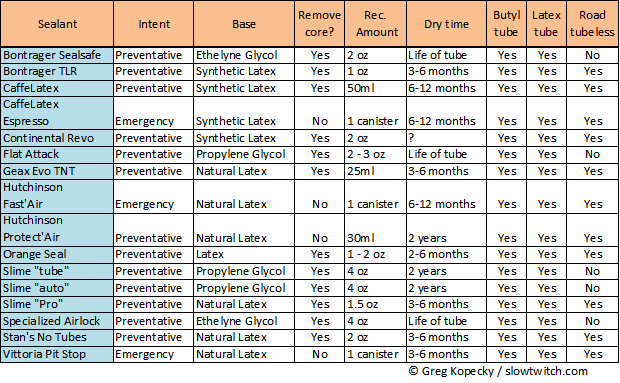
Among these contestants, there is a solid mix of different types – natural latex, synthetic latex, and glycol-based. In 2012, we published a sealant database detailing everything we knew about everything on the market; here is our 2014 update with the latest products and information:
Puncture Details
Let’s talk about our puncture protocol. This was the trickiest part of all; how do you really recreate on-road punctures? Can we recreate cuts? Does it matter if we’re talking about tread vs. sidewall?
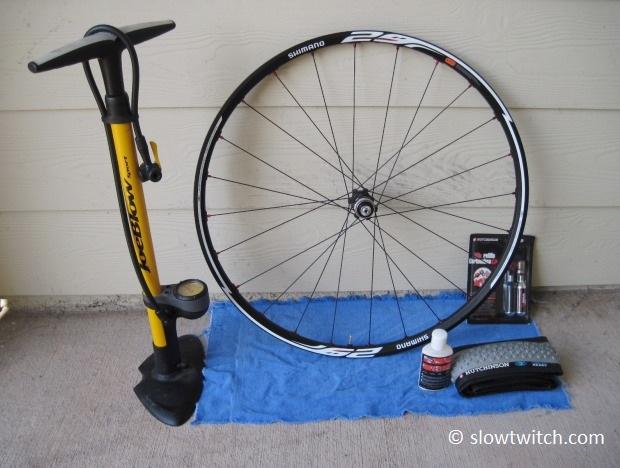
All tests were done indoors on the same front wheel – a Shimano Ultegra 6800 clincher. Tests were carried out using my truing stand as the ‘spinner’ and wheel holder. Each wheel was spun for a minimum of 20 seconds before puncturing to ensure that sealant was evenly distributed throughout the inner tube.
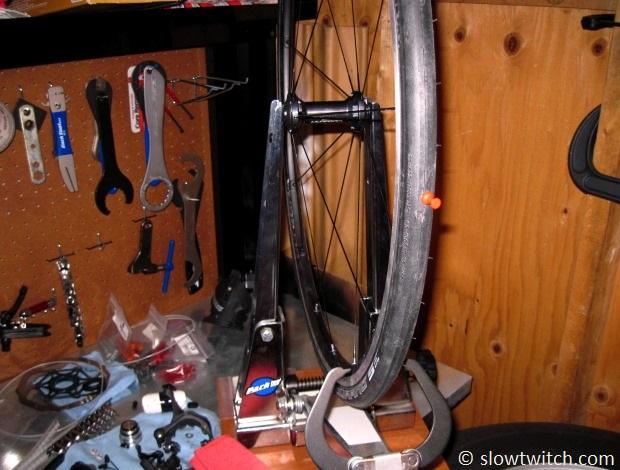
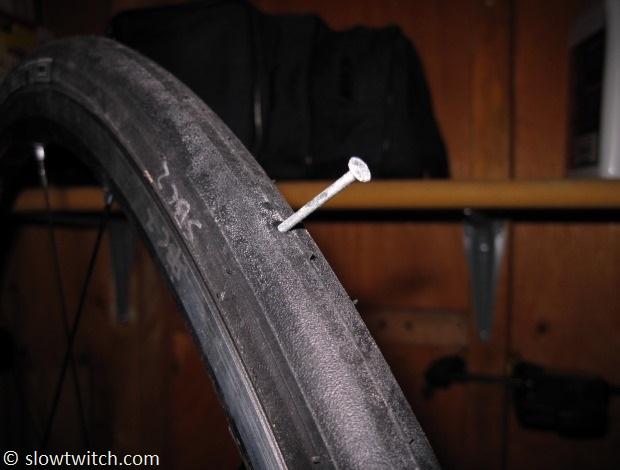
I opted to try three different puncture sizes: a 1.2mm thumb tack, a 1.7mm nail, and a 2.2mm nail.
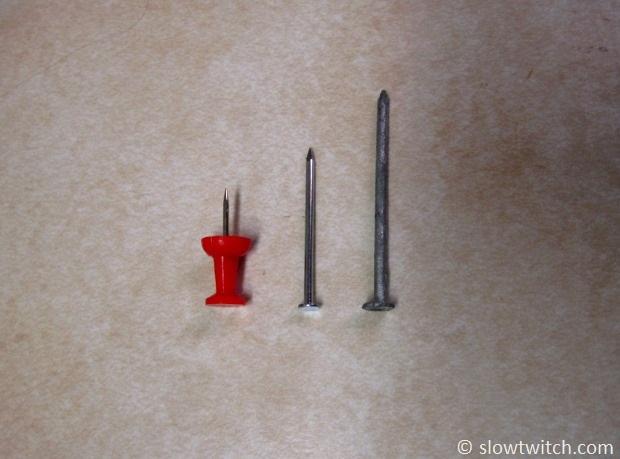
Each sealant would be tested four times; two with each type of inner tube.
ROUND 1:
-One butyl tube, one latex tube
-Punctures through the center of the tread
-Ten separate punctures with the 1.2mm tack
-Three separate punctures with 1.7mm nail
-Three separate punctures with the 2.2mm nail
-Puncture times stopped with a stop watch; test ends at first failure
ROUND 2
-One butyl tube, one latex tube
-Punctures through the tire sidewall
-Two separate punctures through the left sidewall with 1.7mm nail
-One puncture through both sidewalls with 2.2mm nail
-Puncture times stopped with a stop watch; test ends at first failure
For all tests, the wheel was spun ‘very hard’ after pulling out the puncture tool to recreate what would happen during riding. In the few cases that the tire was taking a long time to seal and the wheel slowed down significantly, I would give it another spin. If the tire lost a significant amount of pressure but still sealed, I would pump it back up to 105psi. Throughout the test, I never had to pump a tire up more than once or twice per trial. Between sealant types, the tire and wheel were wiped out thoroughly with isopropyl alcohol to eliminate the chance of cross-contamination.
The first round was intended to cover your garden variety punctures. Most of the punctures I’ve suffered have been through the tread. I can count three times that I have flatted in a triathlon, and all have been the same – ‘mystery puncture’ through the tread. There has never been anything stuck in the tire; just a small pinhole puncture.
The second round was intended to cover sidewall cuts. In most cases, sidewall cuts seem to be larger punctures, which is why I skipped the small 1.2mm thumb tack altogether.
I used the spokes on the wheel to quarantine specific areas for each test. No two tube materials or puncture types (sidewall or tread) would happen in the same area. Tires would be replaced as-necessary if any problems occurred (e.g. tube bulging through the tire).
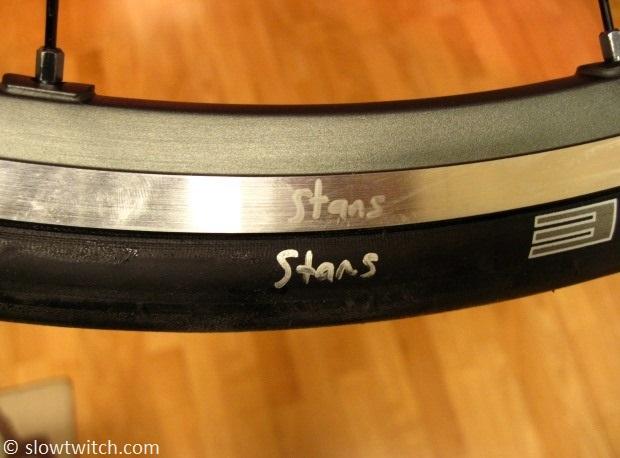
Why not use a knife and actually cut the tire? I tried:
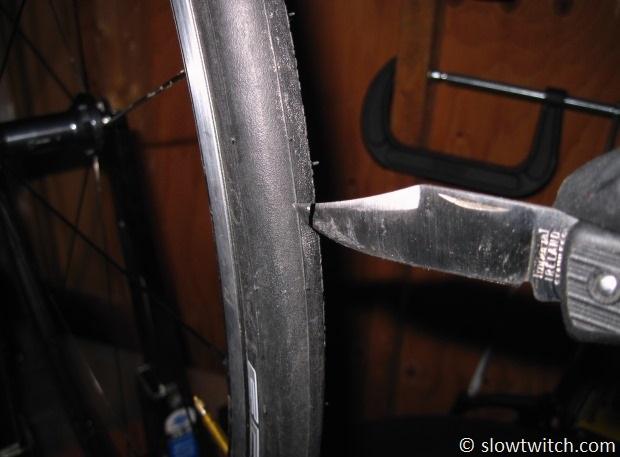
To make a long story short, it is very difficult to puncture a narrow road tire at 105psi. It’s very unstable, and – as much as I love our faithful readers – I’m not going to risk cutting myself for you. I’m sure some sort of machine could pull it off, but with a budget of zero dollars for this story, it just wasn’t feasible.
Finally, how did we decide on what amount of sealant to use? Indeed, this can vary a fair amount by manufacturer. After much consideration, we opted for 50-60ml (about two ounces) of sealant per tire. This was chosen for a number of reasons. First, that amount is roughly average for all sealants in road tires. Second, we wanted to give each of the sealants a fair and equal shot. Finally, we chose a narrow range (50 – 60ml) because it is not always possible to get a perfect amount in every single time. In cases where sealants came in 8 ounce bottles, we split it evenly between four tubes (Flat Attack and Orange Seal). We did our very best – and spent a lot of time – to properly measure and inject the bulk sealants (Caffelatex, Bontrager TLR, Specialized Airlock) with an Effetto Mariposa injector. The only exception with this 50-60ml volume is Vittoria Pitstop, because it comes in a single-serving canister. In that case, we simply followed their instructions and used one canister per tube.

In part two of this article, we’ll reveal all of the good stuff – click here for part 2


Start the discussion at slowtwitch.northend.network