Aero seatpost light mount
This is our tutorial on how to make an adapter to mount a tail light on your aero seatpost. We recently showed you how to make a 31.8mm aerobar accessory adapter, for use with lights, computers, and cameras – HERE.
This type of adapter can be made to fit any aero seatpost on the market (that I’m aware of). There is one key limitation, however – it is only intended for use with lights that attach via rubber bands or O-rings. There are not a ton of options on the market for this, but they are by far the easiest to rig up for aero posts. The two options I’ll show today are the DiNotte 140R (pictured below), and the Exposure Blaze.
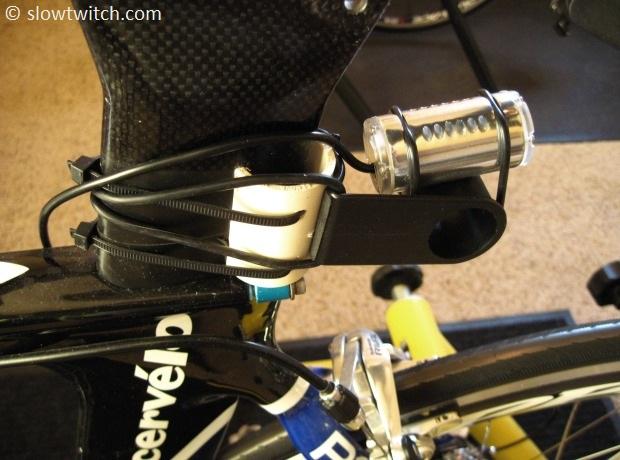
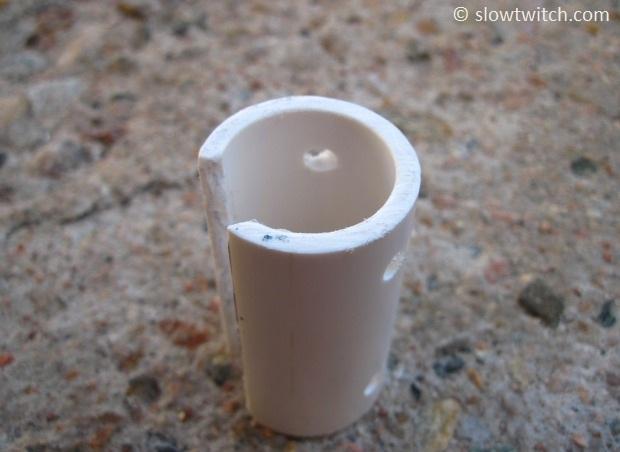
The photo above shows the DiNotte 140R on a Cervelo P2 carbon. The basic idea is that the mount provides a section of round pipe at the back of the post – so the light ‘thinks’ it is on a round seat post. You simply cut a section of the pipe out to fit the width of your post. Then, drill two holes for zip ties, and you’re set. None of the lights come with rubber bands that are long enough, so this is where you’ll have to improvise (purchase longer ones, or combine two or three short ones).
Getting Started
To begin, you’ll need some PVC pipe. I’m using the same 32mm outside diameter tubing that I used for the aerobar accessory mount (most common round posts range from 27 to 35mm in diameter). You can cut the pipe as long or short as you need; I found about 7cm to be sufficient.
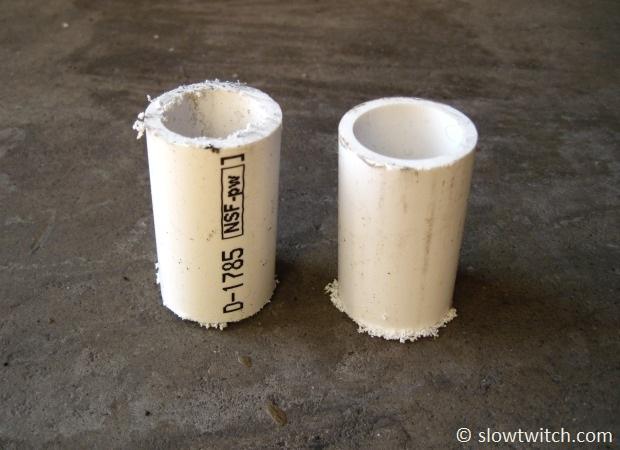
Next, you want to make guide lines for cutting out each section of the pipe. I decided to make two different sizes – one wide and one narrow. As an editor, it’s not uncommon that I’ll ride various brands of bikes while traveling. These could have round posts, wide aero posts, narrow aero posts – who knows? I can travel with these two adapters and a handful of different size O-rings, and I’m prepared for any situation.
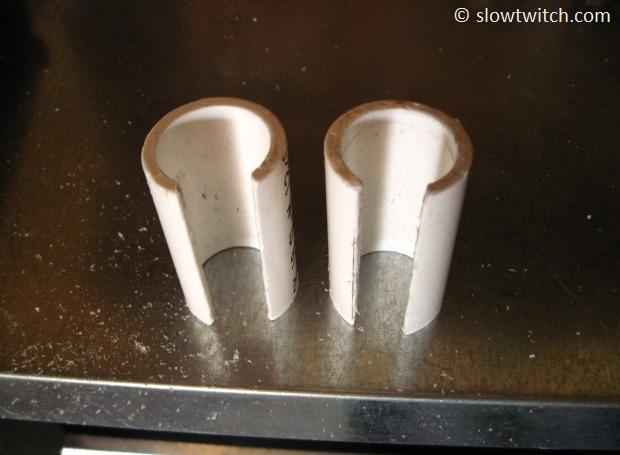
The narrow one (left) has about a 1cm gap, the wide one (right) has about a 1.5cm gap.

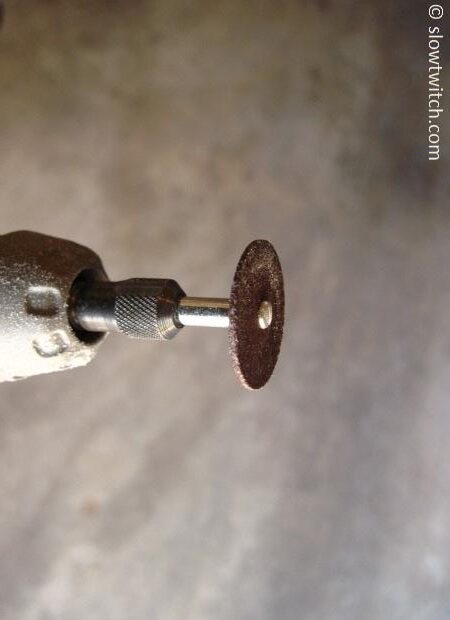
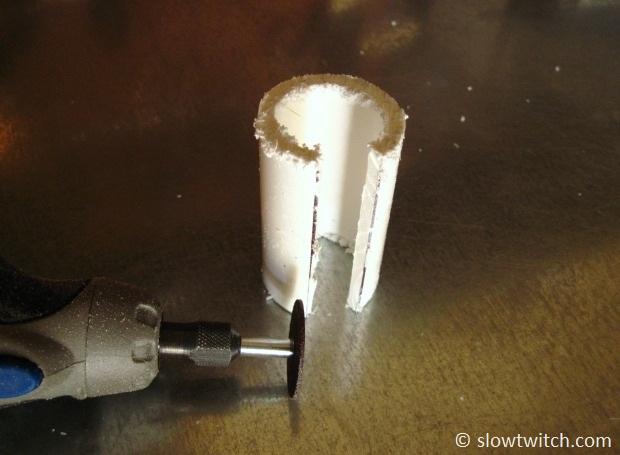
To cut the pipe, I used a Dremel tool with a cutoff wheel. You could do this job with a saw, file, and sandpaper, but it would take a LOT longer. I bought the cheapest Dremel in the store, and it came with about a dozen different bits.
Next, I clamped the pipe in my bench vice. Don’t clamp it too hard, or you’ll risk cracking the pipe.
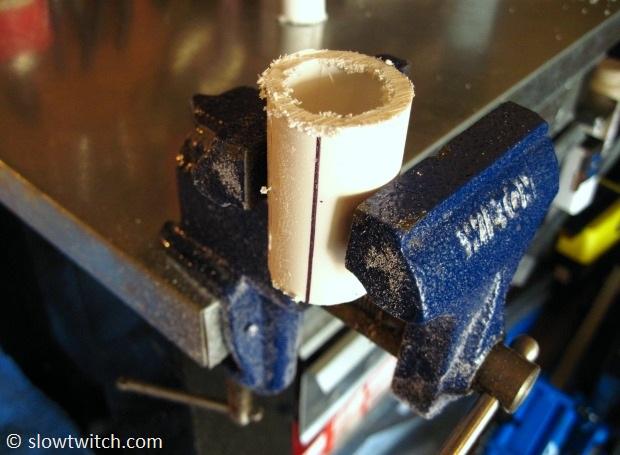
Now, (carefully) cut away.
It should be obvious, but is worth mentioning – WEAR EYE PROTECTION FOR THIS! PVC dust will get everywhere.
Next, I switched to a small diameter general purpose grinding stone.
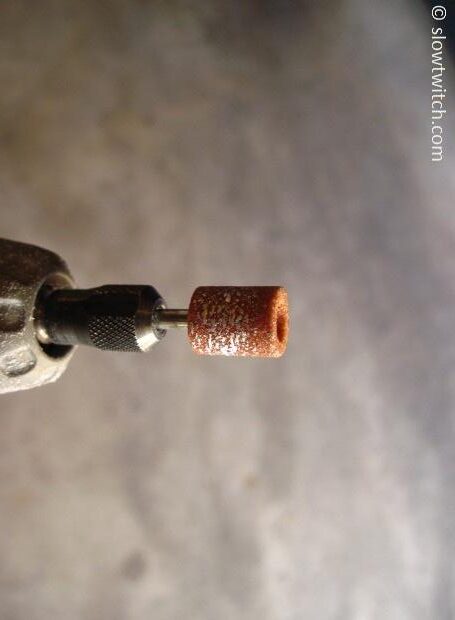
With the basic shape already determined by the cutoff wheel, now it’s time for the fine tuning. Smooth the edges and widen the slot as-needed. Similar to the aerobar mount, the key is going slow and test-fitting often:

I ended up widening both of my adapters by two or three millimeters.
Once you’re satisfied with the basic shape, it’s time to drill holes for your zip ties. For this, I used a small drill bit for my Dremel.

This is the tough part. You want the zip-tie holes to be as far away from the open slot as possible. If they are too close (i.e. right in the middle of the pipe), they could interfere with the seatpost itself. Ideally, we want to be able to tighten the zip ties all the way (pulling the pipe firmly on to the post), without having the zip ties touch the seatpost. The trouble is, you’re trying to drill straight through a rounded surface. The closer you get to the back edge of the pipe, the tougher your job becomes.
I began by clamping the pipe in my vice with the open slot facing down:
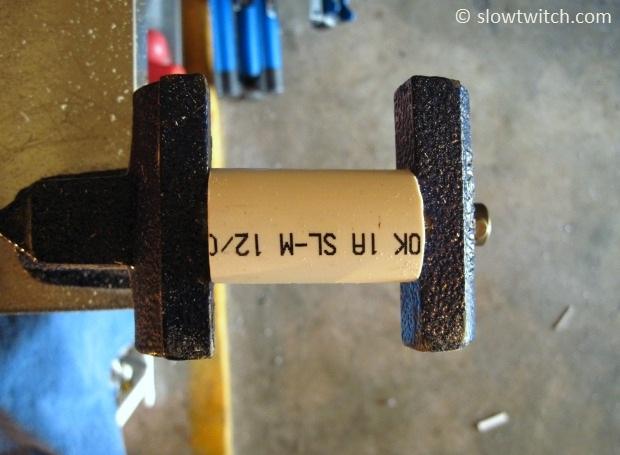
Next, I slowly and carefully drilled out four holes. I only have one Dremel-specific drill bit, and it is slightly smaller than the zip ties I intend to use. This being the case, I had to use the tool as a mill bit to bore out a larger hole. This was the most time consuming part of the process, but only took about five minutes per pipe.
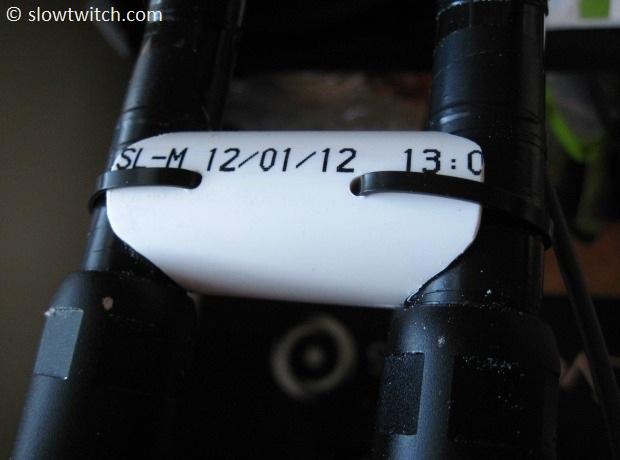
Next, mount the adapter. If your seatpost isn’t that deep front-to-back, you can likely get away with a standard 7 or 8 inch zip tie. For the Cervelo P2 example at the top of the article, I used an extra long 14” zip tie. Most hardware stores carry a wide selection of different sizes.
For mounting the light itself, you’ll need a rubber band or O-ring. The DiNotte lights come with a few extra ones in the package. My Exposure Blaze, however, did not. Luckily, I have a big bag of spare Garmin O-rings for mounting their GPS units to various size handlebars. I simply put two of these together:

Here is the completed setup – Exposure Blaze on a 2010 Felt DA seatpost:

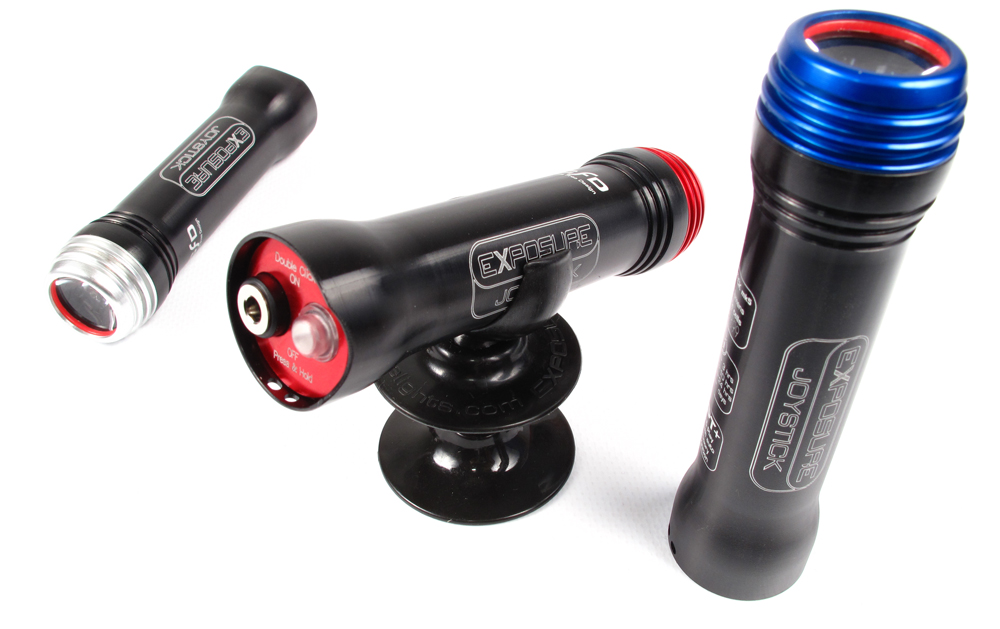
The Blaze is super bright, and is completely self-contained (i.e. no external battery). We’ll review this light separately in the coming weeks. With my multiple sizes of PVC adapters, I can ride bright on almost any bike, with almost no effort.
All images © Greg Kopecky / slowtwitch.com


Start the discussion at slowtwitch.northend.network