Hub Service 2.0
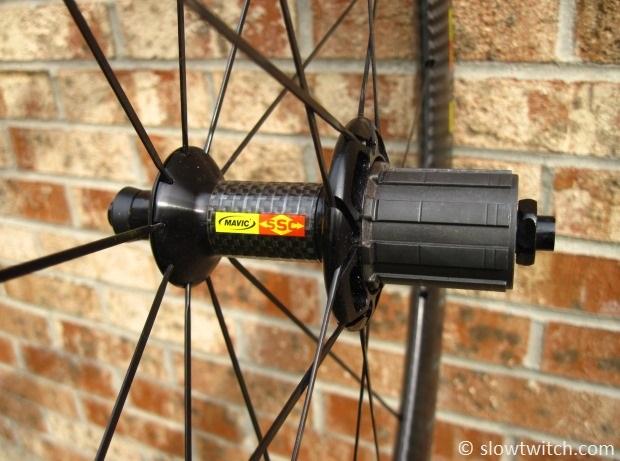
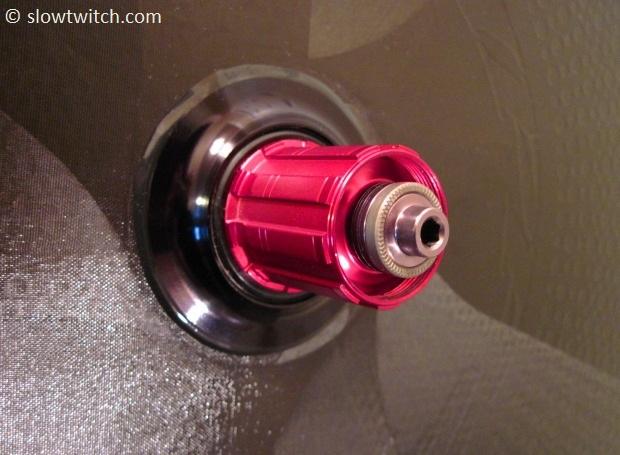
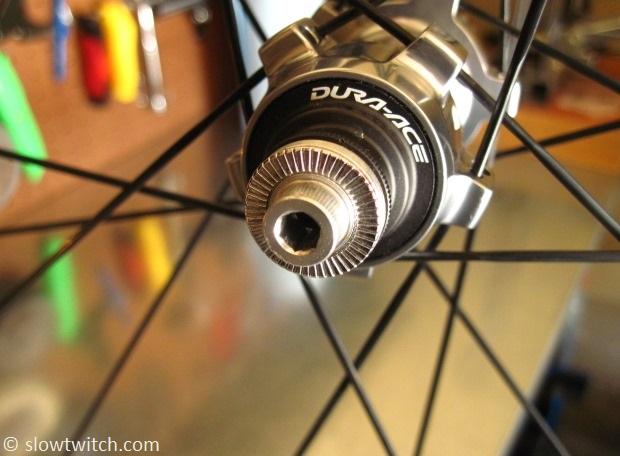
So far, we’ve covered a handful of rear hub overhauls, such as Mavic, Zipp, Shimano Dura Ace, and Powertap.
Today, I’d like to go a little bit more in-depth. Many hubs today feature press-fit bearings, such as Hed, or the Mavic and Zipp hubs we’ve shown. They typically feature a tube spacer that goes between the bearings (Zipp 182, Hed Sonic), or no tube and a preload adjuster (Zipp 188 and Mavic). There is another type of cartridge bearing hub out there that has a different design: A shouldered axle.
Shouldered axles bring about some complications. If you’re not familiar with them, the axle is thicker between the two bearings, and it effectively acts as the ‘stop’ for the bearings. The reason this gets tricky is that you must press the bearings in around the axle – which requires special tools. For most of these hubs, I recommend sending them back to the manufacturer when it comes time for new bearings (unless, of course, your local shop has all of the required tools). While we don’t expect that many of you will try this at home, we thought it would be worthwhile to give you a glimpse into how these hubs are put together.
Today’s demo wheel is a Renn 5ive 5ive 5ive disc (which we will review at a later date). The internals of this hub also happen to look identical to the current FLO Cycling wheels. FLO representatives were understandably not in the position to comment on where Renn gets their parts, or if the two hubs have 100% interchangeable parts, but they did confirm that everything looks very similar on paper.
Getting Started
The first step is an easy one – put one 5mm hex wrench in each end of the rear axle and turn them counterclockwise against each other:
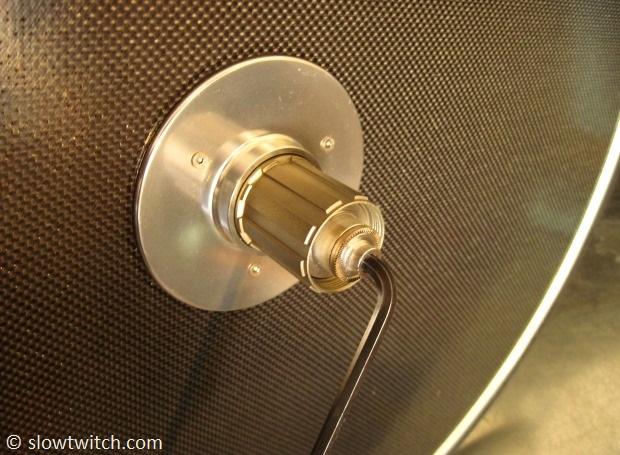
One of them will loosen first; in my case it was the right side.
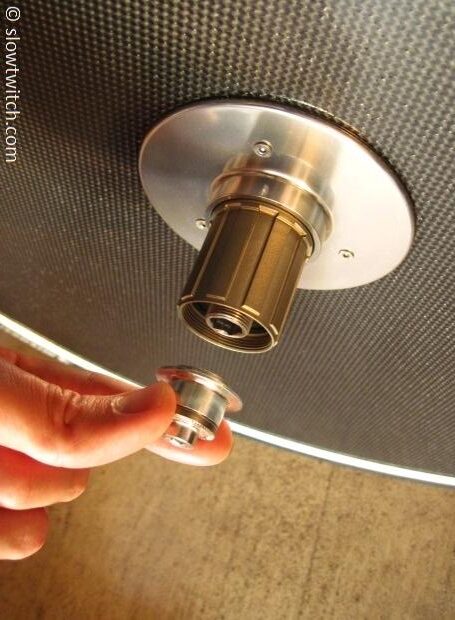
Next, slide the freehub off and remove it. NOTE: There is a small black spacer behind the freehub – keep track of it!
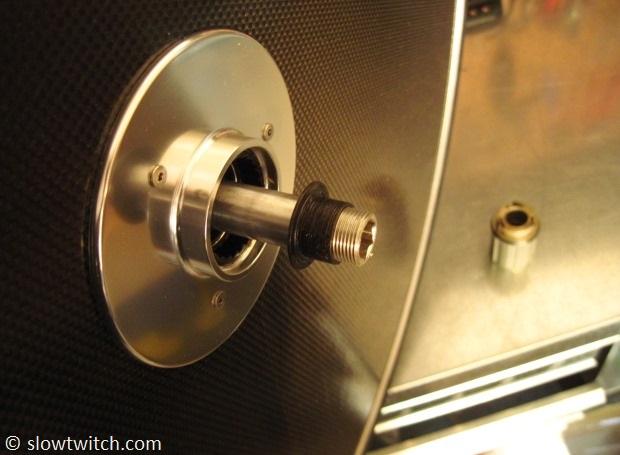
Now insert an 8mm hex into the open end of the axle to hold it steady, and use the 5mm hex in the other end cap to remove it.
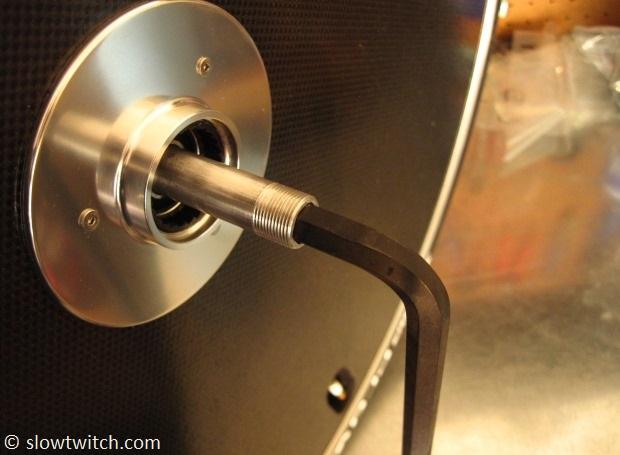
If we wanted to only do the basic hub service, we could do so now. As with almost every other cartridge bearing hub, the main service is to simply clean off the drive mechanism (the pawls and ratchet ring) and re-lubricate them. It’s also a good time to spin the bearings with your fingers to ensure that they’re still smooth and do not need replacement. If the freehub (also called ‘cassette body’) bearings are bad, it’s typically easiest and most cost effective to replace the whole freehub and get on with your day.
We are going to go one big step further and replace the hub bearings. Our first step is to push the axle out of the drive side in this particular hub. The folks at Renn Multisport instructed me to not put pressure on the right side hub flange when doing this, but rather at the ratchet ring (e.g. find a way to support the hub at the ratchet ring – and then hammer the axle out).
I tried this, but it really felt like the bearing had Loctite applied to it. It was NOT coming out and I didn’t want to hammer the wheel into oblivion. What I had to do was devise a way to press the axle out using my bearing press kit (I have the Wheels Manufacturing Wizard plus full over-axle kit).
On the left side, I found one adapter that would press directly on the axle:
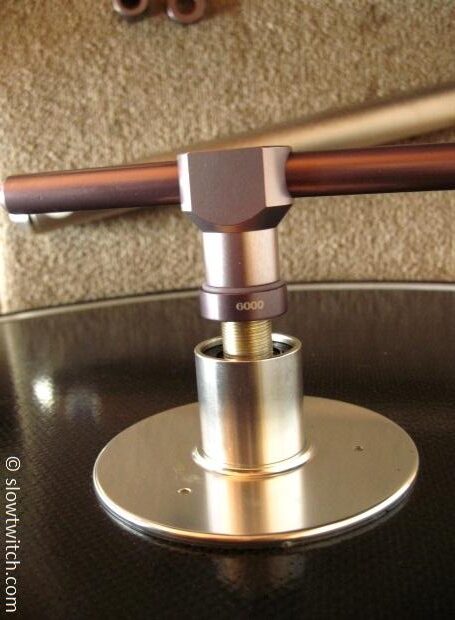
On the right side, I needed to stack up enough parts to go around the axle.
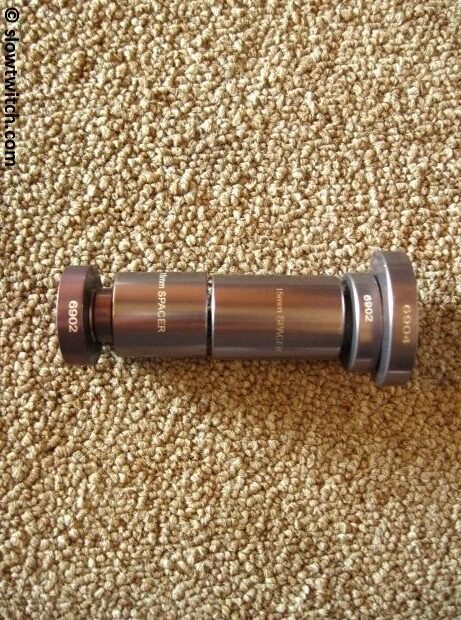
Note that the final piece (on bottom in the photo above) is a piloted 6902 adapter from my Wizard kit (not the over-axle kit). This keeps everything else in-line. The large piece (on top in the above photo) is a large 6904 bearing adapter, and perfectly fits the ratchet ring of the hub. When it’s all put together, it looks like this:
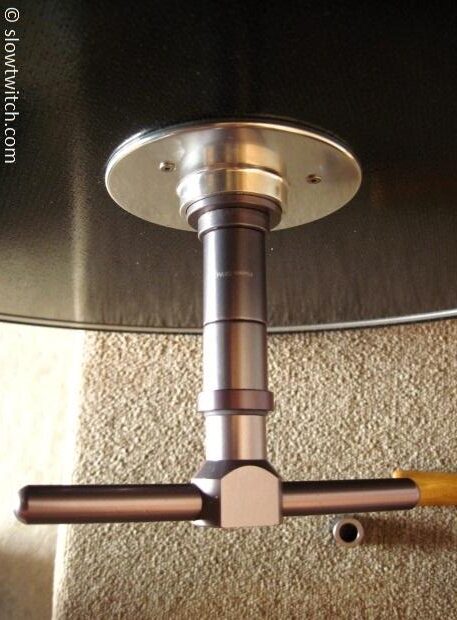
The most important thing is that there is sufficient clearance inside of your right side stack to let the axle move through it. You may have to press a little bit and then add more stack; if the axle bottoms out on your press, you’ll be stuck.
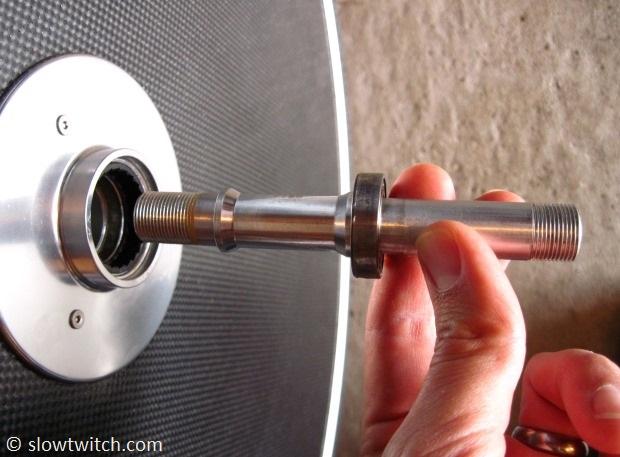
Once you’ve pressed the bearing out, you can remove the axle:
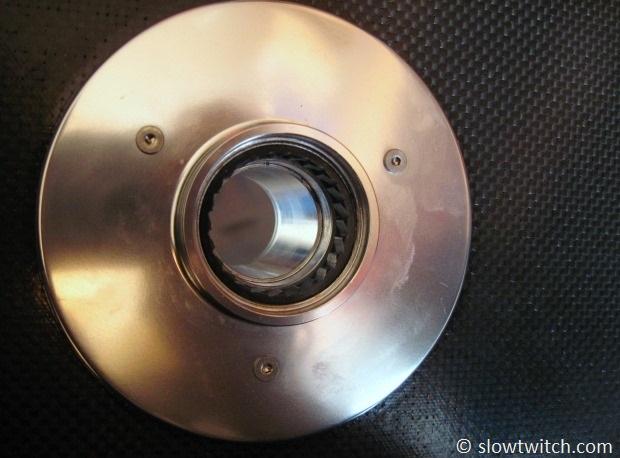
Before you remove the left side bearing, you must remove the non-drive side c-clip. It is an internal snap ring with rubber coating, effectively making it a bearing seal. I don’t know the exact specs on this particular snap ring, but it looks to me like the two holes are about 1mm in diameter.
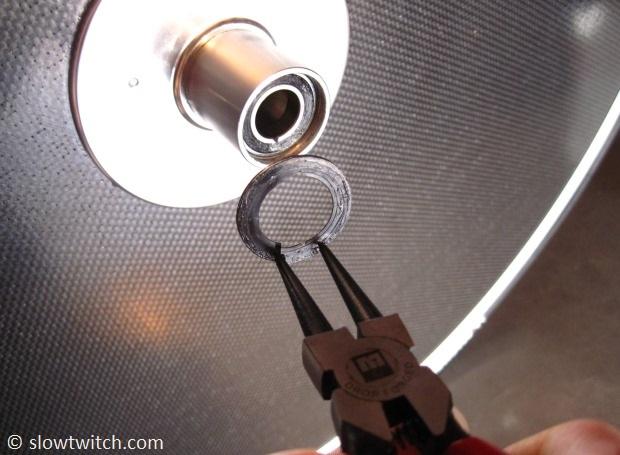
I used a hammer and punch to remove the left side bearing; unlike the right side bearing, it did not feel like it had Loctite applied to it.
With everything removed, spray the inside of the hub with a clean solvent such as 90% Isopropyl alcohol and wipe it out.
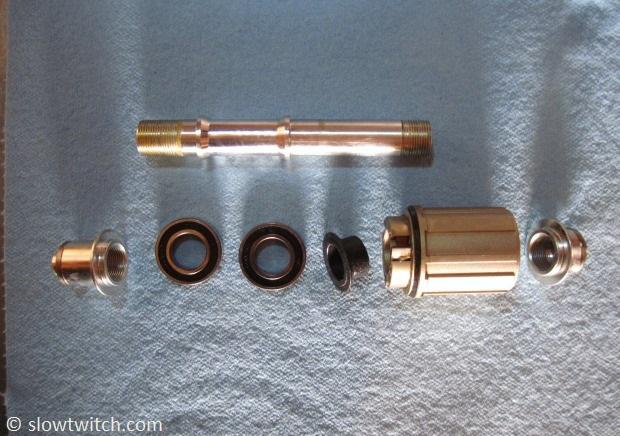
Here are all of the parts of the hub:
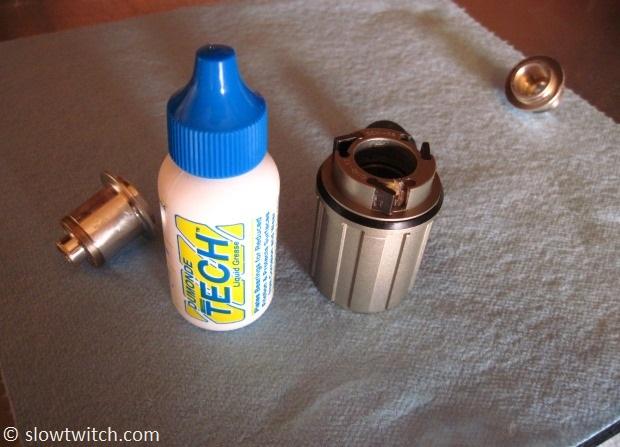
Next I did the ‘basic’ service mentioned previously: Wipe off the drive mechanism and re-lube it. This particular hub had springs that felt middle-of-the-road in terms of strength. Stronger springs can handle grease (which lasts a long time), but have a little bit more drag when coasting. Light springs require that you use oil, which doesn’t last as long.
Because this design seemed middle-of-the-road, I chose to use Dumonde Tech Liquid Grease. It is effectively a very thin grease… OR a very thick oil. It flows under gravity – just very slowly. I really like it for applications such as this. Apply a generous drop around each of the three pawls, and put a light coating on the hub’s ratchet ring.
Now it’s time to put everything back together. I started by putting a light coating of grease in the two bearing bores, because the bearings were so tight coming out. Then put the axle in the hub, and put your two new bearings on the outside of it.
In order to press the bearings back in, I used the proper 6902 adapter from my over-axle kit. This is a non-piloted adapter that presses evenly on both races:
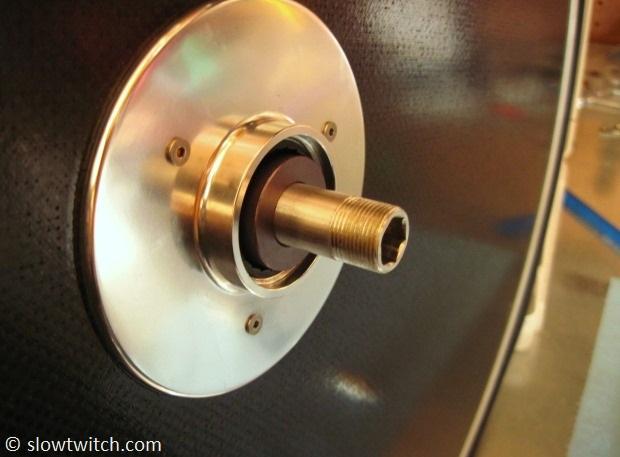
Next, I had to rebuild a new stack on both sides of the hub that would clear both ends of the axle. Similar to the removal process, I used the piloted 6902 adapters for my final pieces to hold everything together and keep it lined up straight.
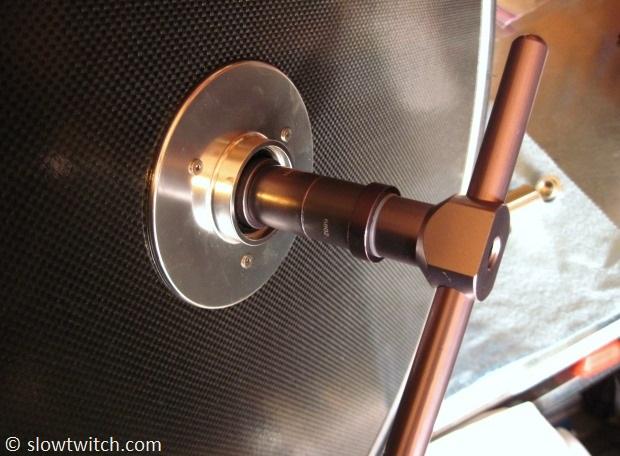
Press the bearings in until they stop, but do not kill them with the press. You can easily check for bearing play by pushing the axle left-right. If it moves, press the bearings in a little further. You’re looking for ‘smooth with no play’.
After the new bearings are in, reverse the rest of the process. Install your left side snap ring and drive side spacer:
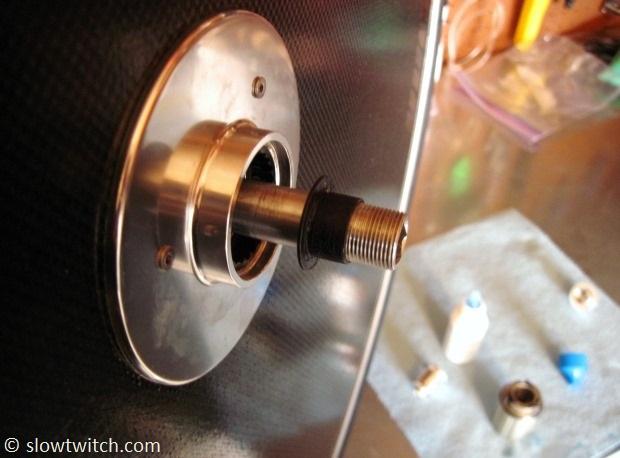
Put your newly-lubricated freehub back on (push the three pawls down and turn it counterclockwise as you do so).
Finally, thread both 5mm end caps back into place:
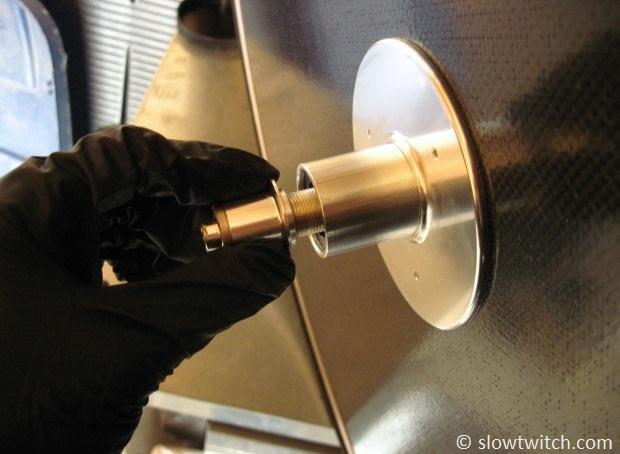
Tighten the two 5mm caps to my exact torque spec of ‘snug-n-tight’.
—
The good news is that this type of service is not required very often. This hub uses large size 6902 bearings and has a legitimate sealing system. If you race on a wheel such as Renn disc or FLO, I’d be surprised if your hub needs a full bearing replacement more frequently than every couple years. The most likely bearing failure is the smaller one inside the freehub, which is much easier to replace (e.g. just get a new freehub).
All images © Greg Kopecky / slowtwitch.com


