Smooth miles with Kona
It’s not common that we do in-depth reviews of complete bikes. The reasons are many. To start, they take a lot of time and always present logistical challenges. Perhaps more importantly, bikes are very rider-specific in terms of fit (what fits me may or may not fit any of you). Finally, it’s a sad truth that many bikes today are so similar that we aren’t really going tell you anything different or groundbreaking when we review one of them.
That being said, I started a project this winter to build up a road bike that was truly worthwhile of a detailed review. I had some things on my mind; some itches to scratch. I felt that a certain segment of the road market – one of the most important segments – was falling by the wayside for all the wrong reasons. The gears started creaking and rolling in my brain, and several months later, we’re here to tell you all about the wonderful world of ‘endurance’ road bikes – those with standard rim brakes. The star of our show has a name that you tri-folk may be familiar with: Kona.
While you may know Kona as an island or race, Kona-the-bike-brand actually doesn’t even have a tri bike. They sell road bikes, commuter bikes, and specialize in MTB and cyclocross.
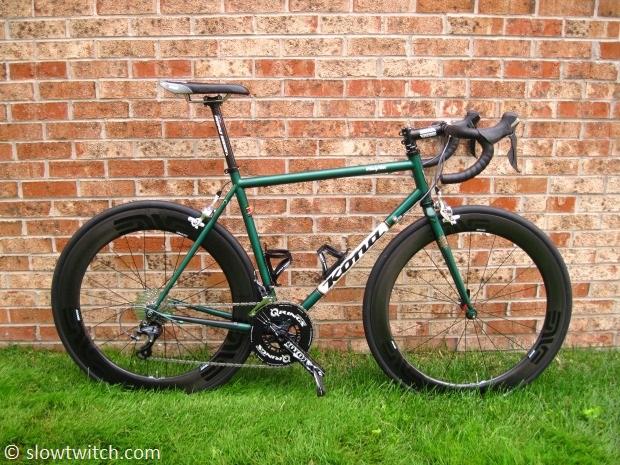
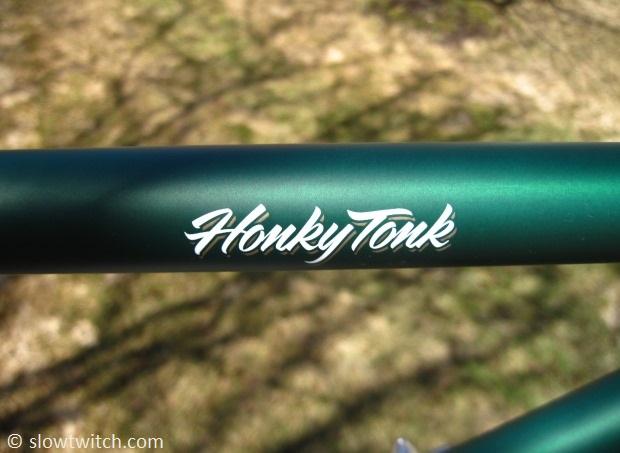
We built up a fancy-pants version of their steel endurance road frame, lovingly called the Honky Tonk. Below, we’ll offer the full specs, details, and reasons why an endurance road bike could be the best investment you make into your bike stable. Or perhaps – the only one necessary.
What makes an ‘endurance’ road bike different from a ‘normal’ road bike? There are three key elements:
1. Larger tires
2. Mid-reach brake calipers (driven by #1)
3. Usually, but not always, slightly different geometry
About a decade ago, these bikes were commonly called ‘Roubaix-style’ bikes… simply because they were often ridden at the famous Paris Roubaix race, an incredibly difficult Spring Classic that includes many rough sections of cobblestone ‘roads’.
In order to smooth out those rough roads, riders will use large size tires – usually in the range of 25-30mm. On the large end of that spectrum, clearance can get very tight inside of a standard brake caliper. The solution is to move the brake mounting points up and away from the tire to create more room within the brake, and to make the caliper arms longer so they can reach the rim’s braking surface.
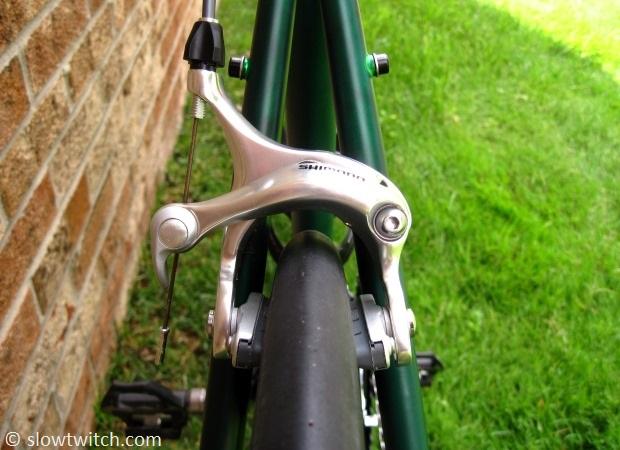
In the above photo, notice how much clearance there is inside of the brake. That’s a 27mm tire, with plenty of room to spare. I chose Shimano’s excellent R650 brake for the build; essentially an Ultegra-level brake with longer arms. They’re strong, smooth, and live up to Shimano’s reputation for stellar stoppers.
It’s a shame that these brakes are falling in popularity. My conspiracy theory is that the bike manufacturers and sponsors of Roubaix-racing teams have decided that mid-reach brakes aren’t fashionable, or do not want to stock more than one option.
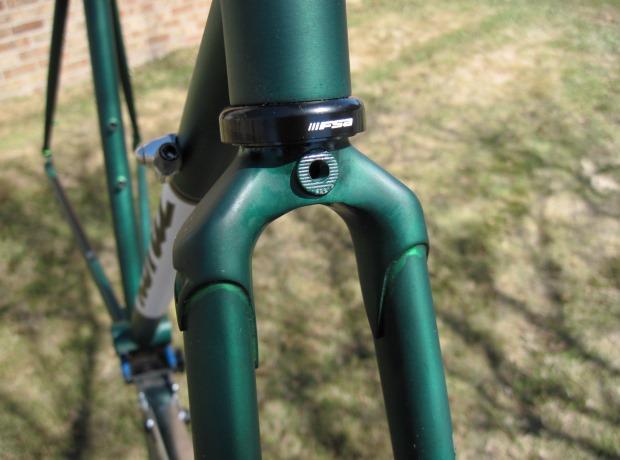
On the front end, you can’t really raise the brake mounting point per se, so you must make the fork legs longer to pull the wheel away from the bike. Note that this also increases the effective length of the head tube, or increases the bike’s stack by about 1cm beyond a normal road bike.
Why not use disc brakes? That is certainly where the market is going. Disc brakes are great for certain situations on the road, but are not legal for road racing just yet. In addition, I just don’t feel that they’re a positive step for the masses when all things are considered. There’s an aerodynamic cost. There’s a monetary cost. There’s now an issue of multiplying axle standards and implications for roof racks. Hydraulic disc brake systems aren’t meant to be stored with the bike hanging upside down, which is an issue for many folks that hang their bike in the garage (air bubbles can find their way from the reservoir to the lines). Discs are wonderful for cyclocross, mostly because cantilever rim brakes don’t work very well. A mid-reach road caliper, in contrast, works just as well as a standard road rim brake – very, very well.
The stock build for this bike is on the lower end of the spectrum: Shimano Sora shifters, Tiagra rear derailleur, and fairly basic parts all around. We wanted to build up a custom rig, but the stock parts are solid for a bike that will cost you about a grand.
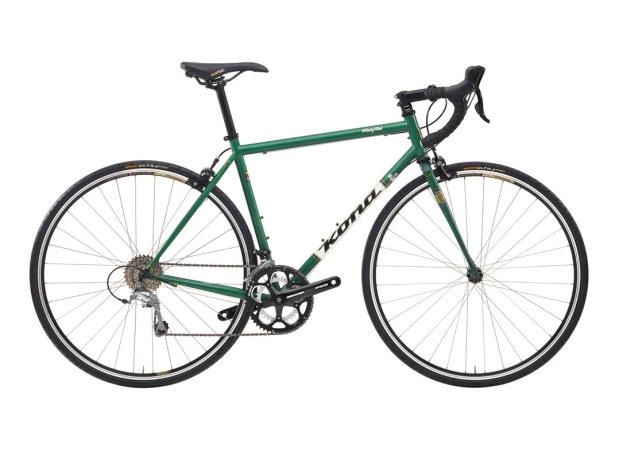
If you’re not in to steel frames, Kona has three more flavors of bike that fill the same niche. That’s right – they don’t just have one of these things to satisfy nerds like me – they have a full tiered line ranging from carbon to titanium to aluminum. The Zone is aluminum, the Zone One and Two are carbon, and the Esatto is titanium. All feature mid-reach brakes and similar geometry.
If I had the bucks, I’d be all over one of these:
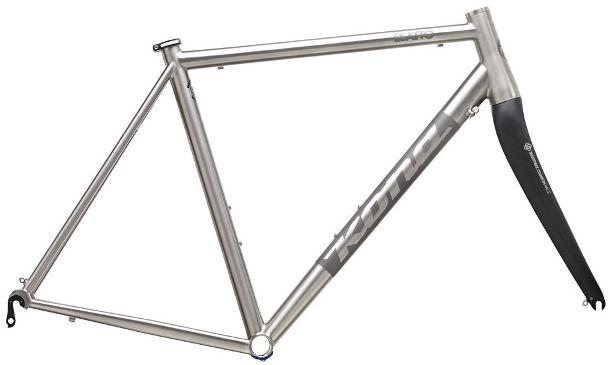
All of these frames advertise up-to-32mm tire clearance without fenders mounted. That makes them perfect for fall and winter riding, when fat tires can become necessary for safety in poor weather. In fact, this type of bike could eliminate the ‘need’ to buy both a cyclocross bike and road bike for those on a budget. I’ve ridden 32mm tires on a ‘cross bike for winter road miles, but I don’t actually do any ‘cross races. An endurance road bike has much more utility than a standard road bike for the bulk of the market, but most people end up buying what is available from most brands: skinny 23mm tires, limited clearance, and single use machines.
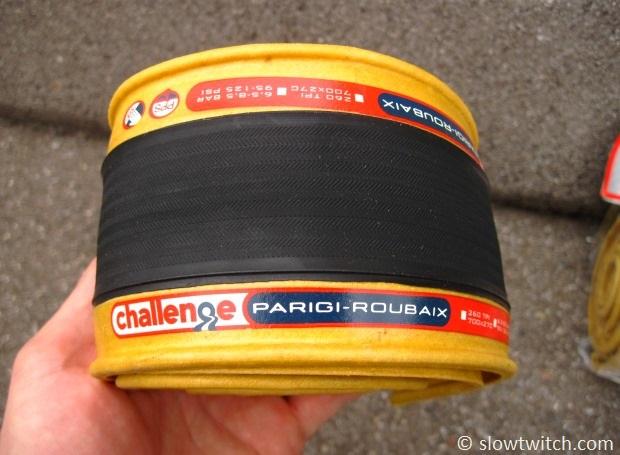
I wanted to test the limits of my Honky Tonk, and strapped on a pair of Challenge Almanzo 700x30mm tires. As you can see, they make the cut:
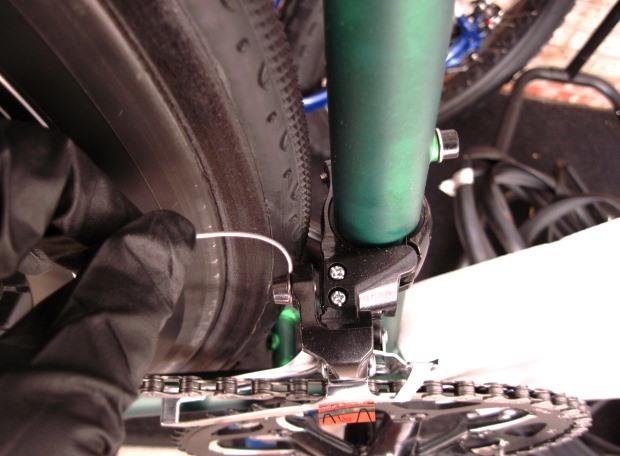
The closest space between tire and frame was actually at the chainstays. My bike was a left over 2013 model, which had a 41cm chainstay length. The new 2014 model added 8mm to that length, to further pull the tire away from the frame. All of the Zone and Esatto frames have the longer stays, too.
With deep-section Profile wheels, the bike looks like a monster truck:
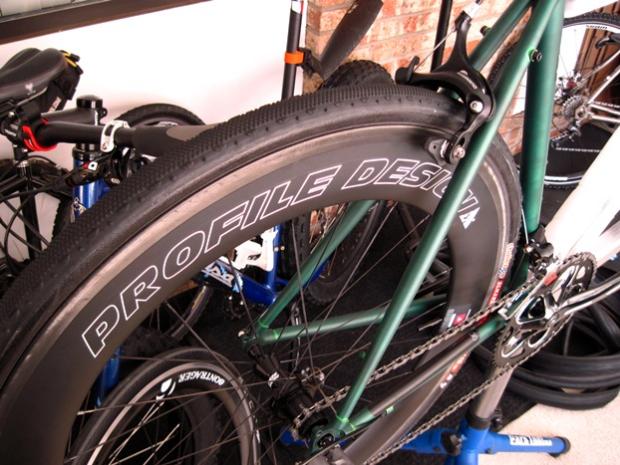
One of the main drivers behind this bike was that I wanted to do some true cold-weather brake pad testing with carbon clincher wheels. I wanted a bike that had road rim brakes, but enough clearance for fat tires (in the interest of my safety). Sounds like fun to me!
Perhaps the most difficult part of this math problem is getting chainstay clearance right. Large tire clearance eats away at chainring clearance, and vice versa. The ‘Tonk gets it right – clearance for full-size 53-39 rings AND 32mm tires. Cyclocross bikes often fit 40mm tires, but are limited to rings of about 50-36.
Because the bike is built for utility, it has all of the essential mounts for fenders and light racks.
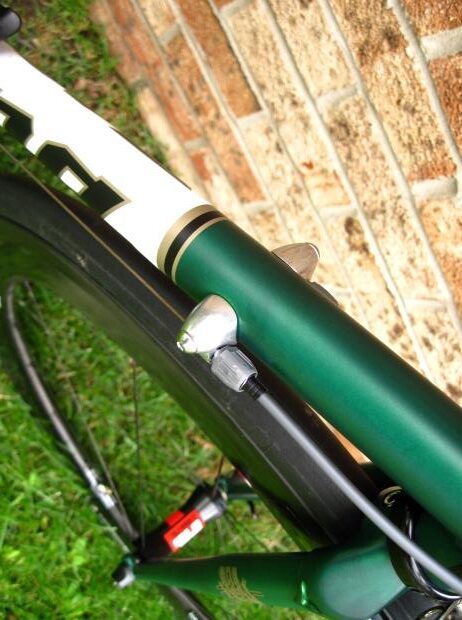
I’m a sucker for simplicity, and l-o-v-e LOVE standard down tube cable stops. This bike took all of a few minutes to fully route cables.
Geometry and Fit
Some companies make the geometry of such ‘endurance’ road bikes slightly more stable than standard road bikes. They do so by lowering the bottom bracket and/or reducing the head tube angle. This Kona is what I’d call ‘slightly’ relaxed, but it generally just feels like a road bike. The 72 degree head tube angle makes it stable, without feeling slow.
Kona appears to have built the frame for those of average male proportions – which is to say, long torso, short legs. I’m 6’1” with very long legs, so I tend to need just the opposite. In a perfect world, I’d ride the 56cm Honky Tonk built with the head tube of the 59cm. Alas, that doesn’t exist, so I went with the 56.
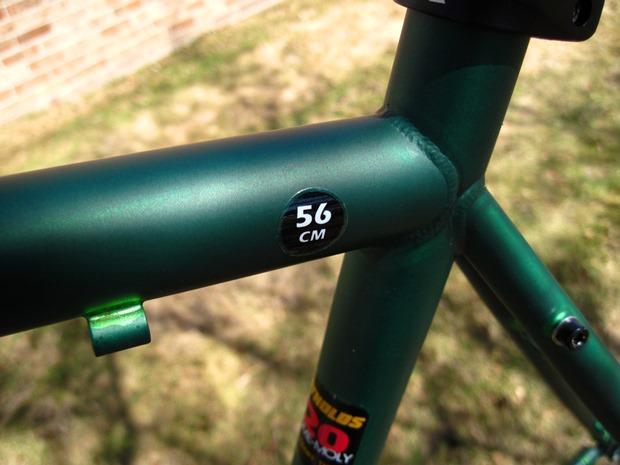
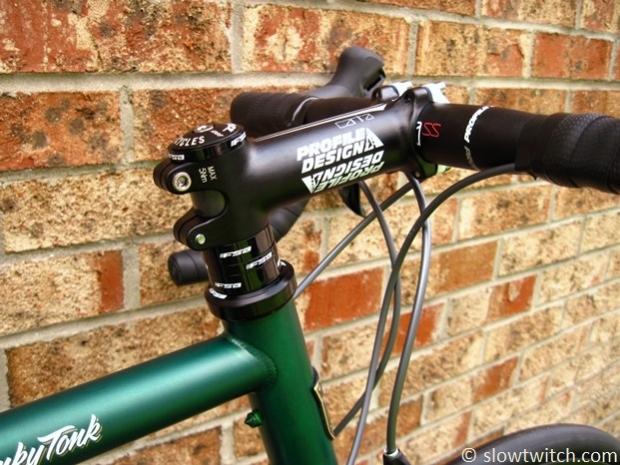
The only consequence is that I have to use more headset spacers than normal for me – 25mm total.
Component Selection
The bike arrived as a complete build, so I stripped it down to the frame and fork.
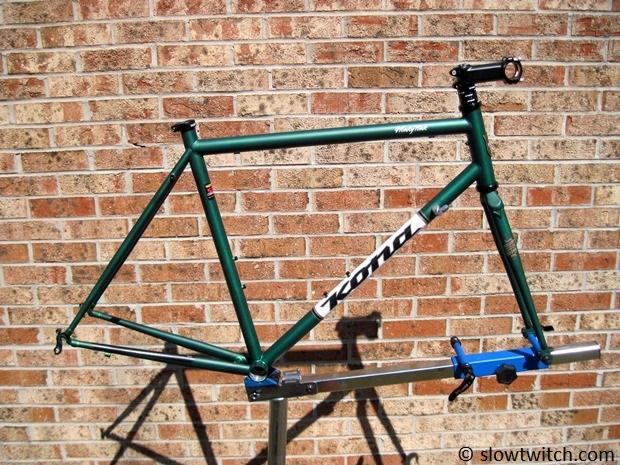
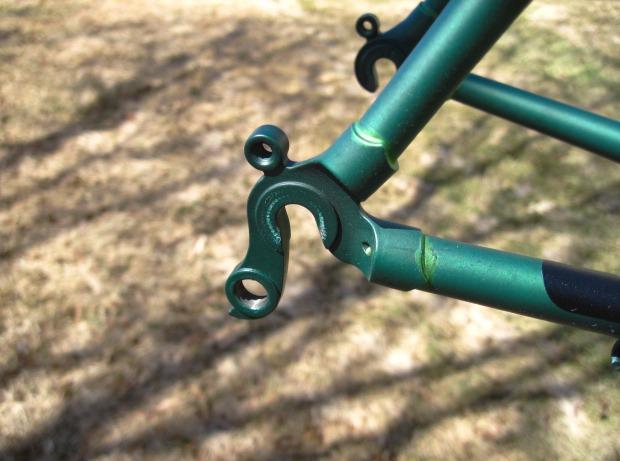
This bike is all standard – bring on the threaded bottom bracket:
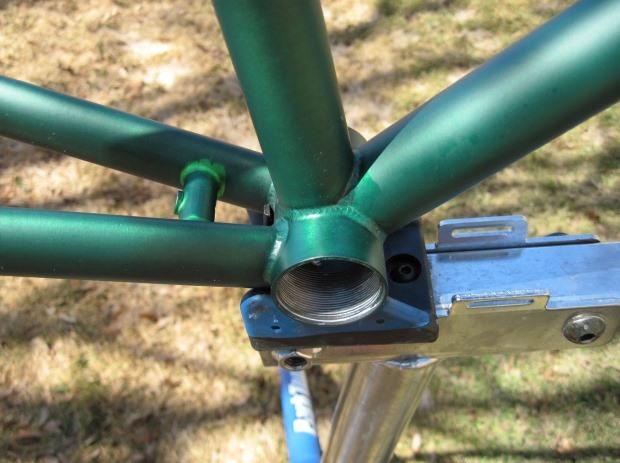
Note in the photo above that the paint looks a little strange around some of the frame joints. That’s because it isn’t paint at all. Kona representatives said that the frame is raw steel with a tint applied, and goes through a phosphate dipping process to prevent corrosion inside-and-out. Because I’m a stickler, I also sprayed the frame inside and out with WD40 Long Term Corrosion Inhibitor. I’m a true believer in doing a little more work on the front end to set up a bike for a long and happy life.
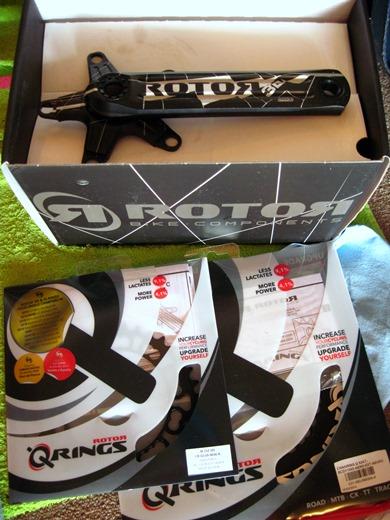
I threaded an Ultegra 6800 bottom bracket in to that BB shell, and plugged in a pair of 170mm Rotor 3D compact cranks with 52/36 TT Q-rings. Why solid aero rings for a road bike? After many, many trials and setups with Q-rings, I find that – all else equal – the TT rings shift slightly better. And look cooler.
Bar, stem, and seatpost came from Profile-Design. My favorite piece is the Legra SS bar. With a super short 70mm reach and 125mm drop, it was my first foray in to a true shallow bar. I’m a convert; the shape is perfect. I can actually use the drops AND reach the brake levers! Wayne and Garth would say, ‘Schwing!’
For wheels, I used two sets:
1. For every day training – Hed Ardennes SL Plus with Specialized All Condition Armadillo Elite 700×25 (measuring 28mm at 75psi)
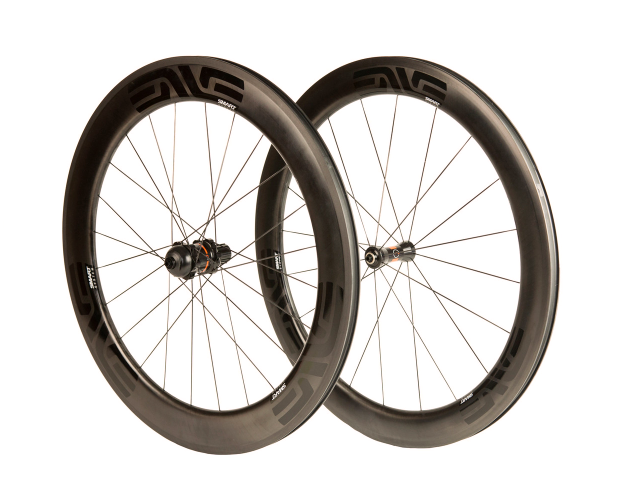
2. For the very hilly Michigan Mountain Mayhem ride – Powertap/Enve GS SES 6.7 with Michelin Pro 4 700×25 (measuring 27mm at 80psi)
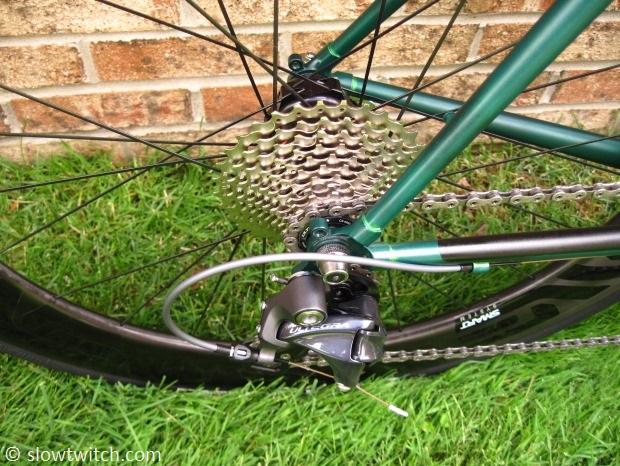
While the Honky Tonk comes with 9-speed components from the factory, I had enough 11-speed Shimano parts to do a complete upgrade. Because of the mega hills in northern MI, I chose a mid-cage Ultegra 6800 rear derailleur, with capacity for an 11-32 cassette.
This 11-speed upgrade ended up being the most educational part of the entire story. Let me explain.
The newest Shimano front derailleurs have received a lot of well-deserved praise. They work really well (and so did the previous generation of front derailleurs). With new trim positions and pull rates, the setup of the new FDs has gotten a fair bit more difficult, however. They require MUCH more cable tension than the old FDs, which makes in-line barrel adjusters a necessity. Additionally, there is a special converter switch integrated in to the cable anchor bolt, which needs to change based on how the cable exits your frame.
Originally, I was having a huge amount of trouble getting the bike to shift in to the large chainring. The shifter simply could not pull enough cable. After a lot of investigation, I discovered that the issue was the bike’s small 28.6mm diameter seat tube. A small diameter tube means that the derailleur is sitting close to the frame. It was just close enough to be outside of Shimano’s spec window, and the whole system wouldn’t work. The fix was a 32mm Shimano clamp with shims for a 28.6mm seat tube – this moved the derailleur out just enough compared to my skinny 28.6 clamp.
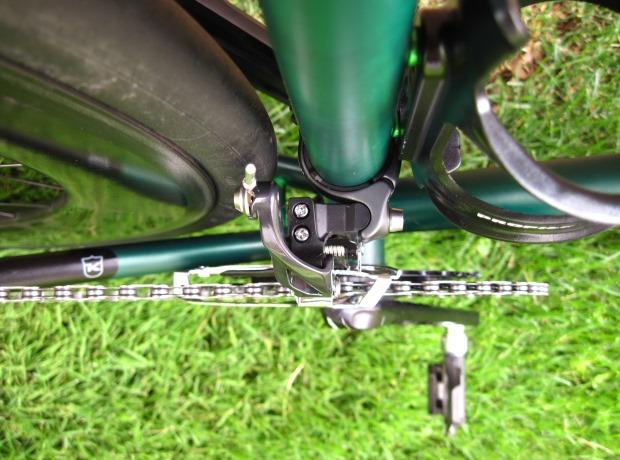
Second, with the new derailleur on, I noticed that my fat 32mm tire would no longer fit in the bike. The main ‘arm’ of the derailleur on the new design is much longer than before (this applies to new 105 5800, Ultegra 6800, and Dura Ace 9000). As you shift in to the big chainring, that arm swings in towards the tire. As a result, I could only fit a 28mm tire MAX in to the bike.
The photo below illustrates my problem. The top photo shows the old 6700 derailleur, and the bottom photo shows the new 6800 derailleur. My fancy blue and red lines are reference points – the blue is the back of the derailleur body, while the red is the position of the ‘arm’ while in the large chainring. Do not pay attention to the location of the tire on each bike; they are different sizes, and the chainstay length is not consistent between the two.
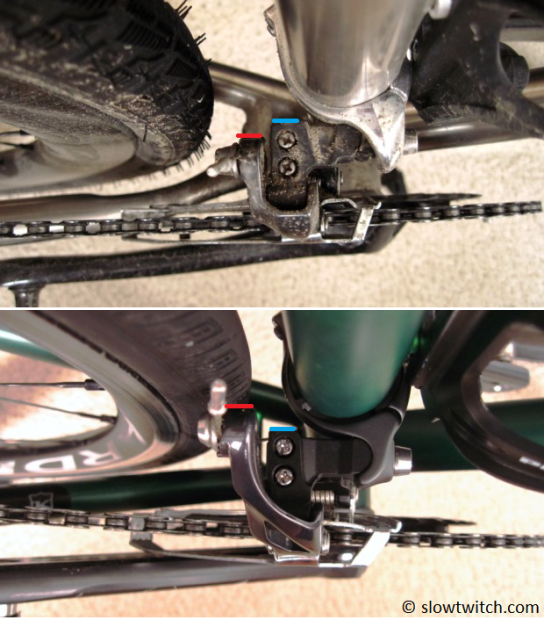
My hopes and dreams were crushed with this realization. I do not think it will be a problem on cyclocross bikes, because they have super long chainstays meant to accommodate 35 and 40mm tires (which pulls the tire and wheel away from the front derailleur arm). The squeeze will be felt with these endurance road bikes with 41-42cm chainstays, regardless of whether they have disc or rim brakes. I may go back to 10-speed in the future with this bike, but didn’t want to un-build it right after I had just finished it.
Ride Impressions
Overall, this bike does just what I want it to do, save my tire clearance quagmire. I get tired of riding my tri bike all the time, and had only kept a cyclocross frame as my ‘road’ bike for the past couple years. The Honky Tonk is a great value – and don’t let its low-end price fool you. I used it as a platform for a high-end build, and the bike operates (surprise!) like a high-end bike. In fact, I’ve had no fewer than five people comment to me about the bike and how cool it looks. I’ve always enjoyed the smooth feel of a steel frame and fork; it inspires confidence and smiles in a way that I’ve never felt on a super light carbon frame. And – there’s something about the look of skinny steel tubes with deep section rims that makes me swoon.
Do you NEED a bike like this? Do we NEED most of the stuff we buy? Of course not. However, a bike such as this is, in my opinion, one of the best investments you can make. Want to do a road race? Want to train in the winter, spring, summer, and fall? Want to get a bike with clearance for 28mm tires, but don’t want a disc brake frame because you already own plenty of rim brake wheels? You sound like the perfect match.
Full Spec List:
Frame: Kona Honky Tonk, 520 Reynolds steel, 56cm
Fork: Kona steel
Wheel/tire choice #1: Powertap GS SES 6.7 carbon clinchers with 700×25 Michelin Pro 4
Wheel/tire choice #2: Hed Ardennes SL Plus with 700×25 Specialized All Condition Armadillo Elite
Shifters: Shimano Dura Ace 9000 11-speed
Front derailleur: Shimano Ultegra 6800
Rear derailleur: Shimano Ultegra 6800 mid-cage
Cassette: Shimano Ultegra 6800 11-32 and 11-28
Chain: Shimano Ultegra 6800
Crankset: Rotor 3D Compact 170mm with 52/36 TT Q-rings
Bottom bracket: Shimano Ultegra 6800
Pedals: Shimano Dura Ace 9000, long axle
Brakes: Shimano R650
Seatpost: Profile-Design Canta Zero 27.2mm
Stem: Profile-Design Canta 120mm x 31.8
Handlebar: Profile-Design Legra SS 42cm
Saddle: ISM Attack
Bar tape: Shimano PRO Digital Carbon
Bottle Cages: Profile-Design Axis Kage


