Video: How to Properly Clean Out Tubeless Tires
You have road tubeless tires. Maybe you’re new to them – or maybe your shop set them up for you. Whatever the case, perhaps you want to swap to a different tire. Perhaps you’re a bad boy or girl, and you haven’t removed the tires in three years and have no idea what’s growing inside. If any of this describes you, read on!
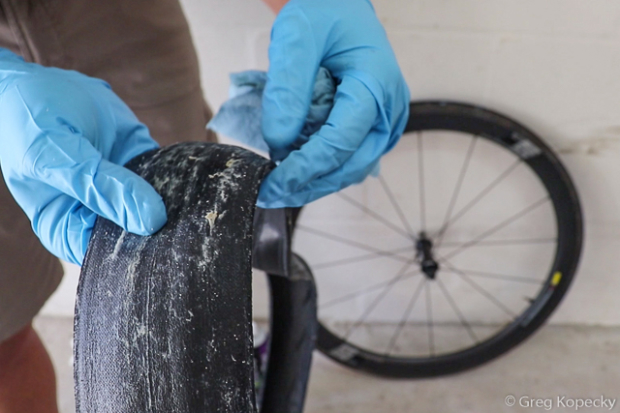
In response to reader questions in our Tubeless Super Thread in the Slowtwitch forum, we’d like to show you the best procedure for cleaning out your tubeless tires. Sealant dries out over time, which can leave latex gunk in the form of a film, chunks, or large dried sections that can cause your wheels to go out of balance. We’ve mentioned it before, but you need to take the time to remove and clean out your tires from time to time (plan on once per year as a reasonable minimum).
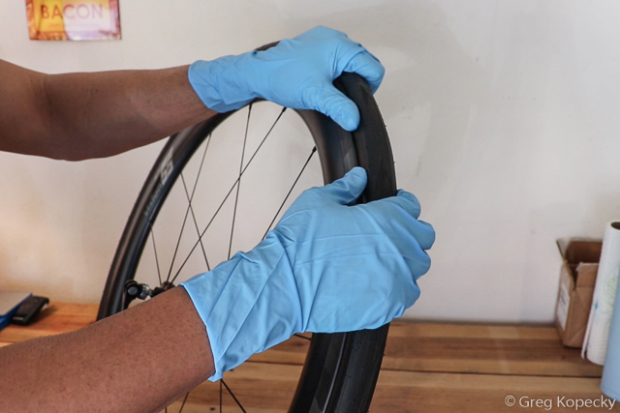
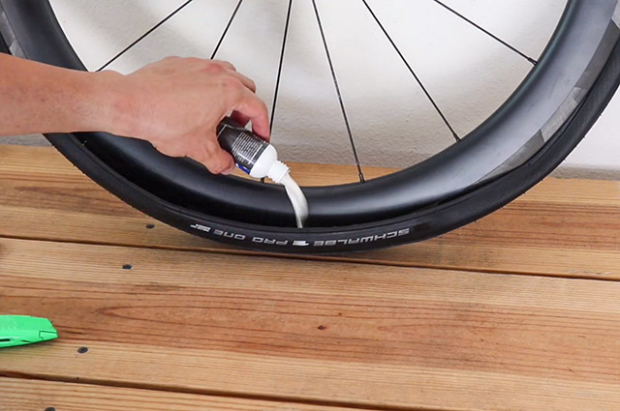
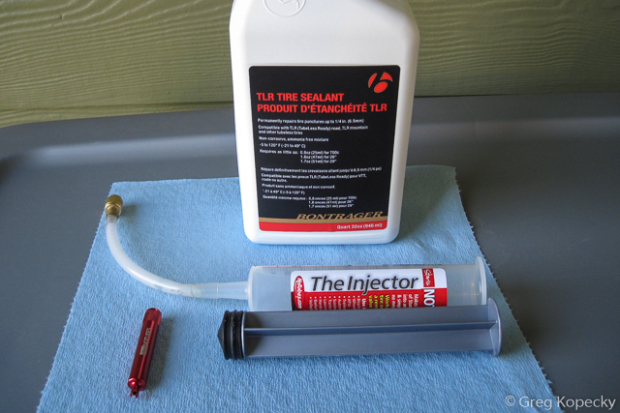
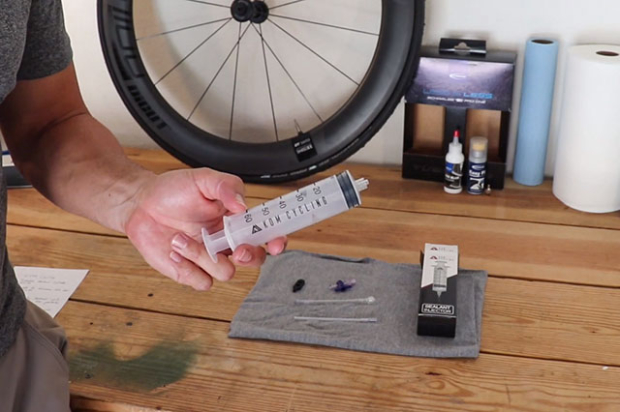
Here are the Cliff’s Notes: In a nutshell, all you’re doing is reversing your tire installation. If there is still a lot of sealant left in the tires, it’s a good idea to remove it with an injector like the handy one from KOM Cycling, before removing the tire completely. Once the tire is off, wipe it out thoroughly with a rag or paper towels, along with a bike-friendly cleaner. If you’re switching brands of sealant, you need to be extra thorough, using soap, water, and a scrub brush to remove as much old sealant as possible from the tire (to avoid any coagulation or reactions between the two different tire sealants). Large chunks of sealant can typically be peeled away from the tire using your fingers or a plastic scraper.
Would you rather watch someone do it? This video will show you the exact procedure, along with extra nuggets of tubeless wisdom:


Start the discussion at slowtwitch.northend.network